
Compare every AI-edited product photo with an untouched original before publishing. Check visible wording, shape, color, material, included parts, and the final crop. Approve the downloaded file for its intended channel only after those details match the real product; an attractive scene alone is insufficient.
Define the allowed change before you edit
Write down what needs improving and what must stay accurate. Removing a distracting background is a different task from changing the product's color. A cleaner setting should still represent the item a buyer will receive.
An AI image editor can help explore an edit, but the final review belongs to the person publishing the photograph. Do not assume that an instruction to preserve the product guarantees an unchanged result.
Start with a short brief: source filename, product variant, intended channel, requested change, and required details. For a bottle, that may include its label, cap, volume wording, and outline. For clothing, it may include seams, fasteners, print placement, and the exact colorway.
Keep an untouched reference for the exact variant
Save the original separately before editing. Use a photograph of the actual version being sold, with enough detail to inspect the label and distinctive parts. A similar item from an earlier collection is a weak reference when packaging or hardware has changed.
Compare source and result side by side at the same scale. When the camera angle changes, distinguish genuine perspective from an altered outline. If the source is too blurred to establish a detail, find a better source or another verified view rather than treating generated detail as evidence.
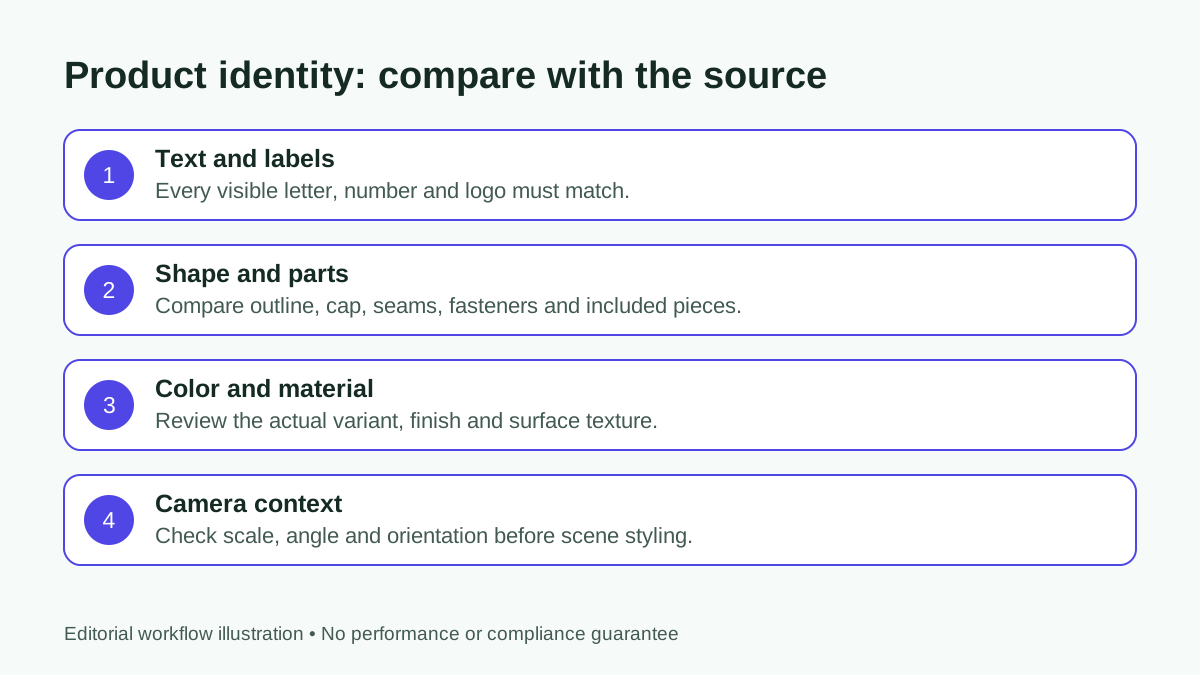
Check every visible word and brand mark
Read visible text character by character. Review the brand name, numbers, units, model identifiers, and any other wording that remains legible in the output. A label can look plausible at thumbnail size while containing substituted or invented letters.
Inspect the logo's proportions, spacing, and placement too. A mark that resembles the original may still be distorted. Do not quietly replace it with a newly generated approximation.
If label accuracy is uncertain, return to a cleaner source, reduce the scope of the edit, or use a conventional editing workflow that preserves the original product pixels. Avoid enlarging or sharpening a defective label and treating the extra detail as a repair.
Compare shape, parts, and material
Trace the product's outline visually, then check the interior details. Compare handles, corners, lids, buttons, straps, holes, seams, and included accessories. A small missing fastener can matter more than a dramatic improvement in the surrounding scene.
Review the surface treatment. Metal should not become plastic, fabric should not lose its defining weave, and a matte finish should not turn glossy unless the brief intentionally changes the representation.
The photo retouching guide discusses restrained correction and source comparison. Apply that discipline to products: distinguish an unwanted photographic artifact from a feature that belongs to the real object.
Review color with a known reference
Compare the edited result with the untouched photograph and, where available, the physical sample or an approved color reference. Check the product independently of the new background. A warm scene can make an unchanged object appear different; an edit can also genuinely shift its color.
Use a consistent viewing environment for review and involve the person responsible for the product variant. No ordinary screen preview can establish an exact color match across every buyer's display.
Do not invent additional colorways to fill a catalogue. If you create a concept image, keep its status clear and separate from photographs representing available products. Approval should identify which actual variant the file represents.
Inspect cutout edges, shadows, and reflections
Travel around the silhouette at a useful zoom level. Look for clipped corners, old-background halos, missing transparent areas, and parts that have merged into the new scene. Then step back to judge the complete image.
Shadows and reflections should make sense with the lighting and surface. Check whether the object appears supported rather than floating, and whether reflections introduce a second label, extra handle, or impossible geometry.
The background removal guide covers difficult boundaries such as glass, hair, and soft shadows. Use its edge-review principles when evaluating an isolated product; keep the source available whenever an automatic cutout removes too much.
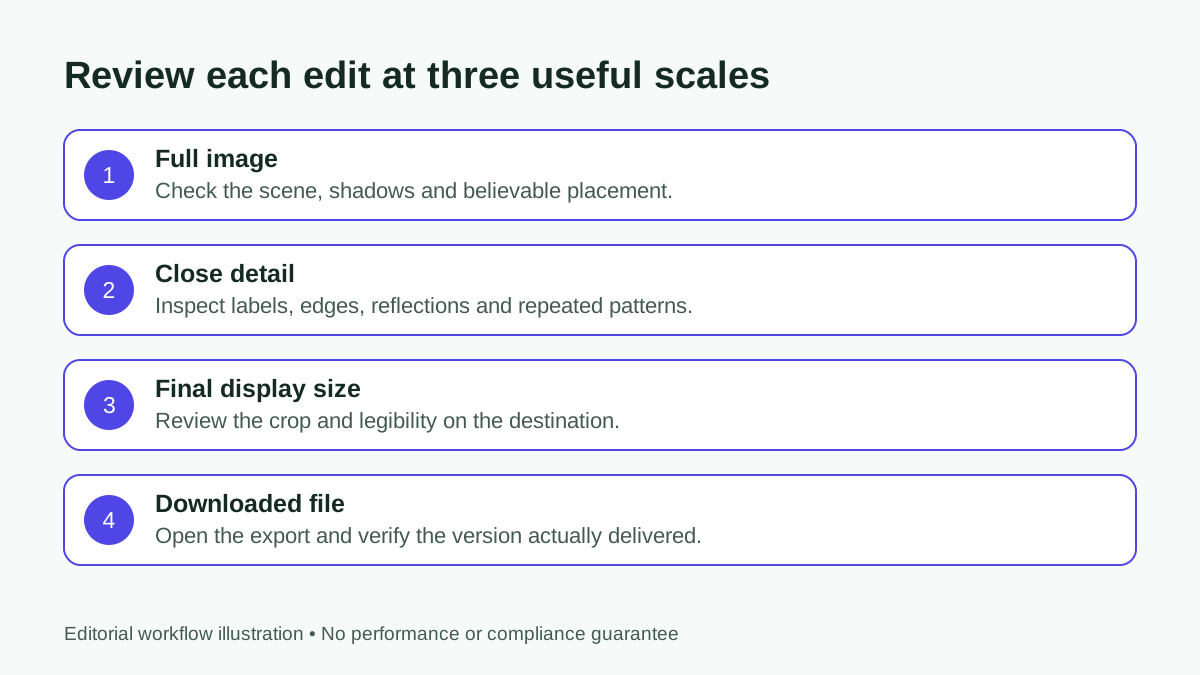
Check scale and the meaning of the scene
Look at objects placed beside the product. A mug, hand, table, or shelf can suggest size even when no measurement is printed. Reject scenes that make a small item appear substantially larger or imply accessories that are not included.
Separate illustrative styling from evidence of performance. A generated outdoor setting does not establish weather resistance, and a decorative setup does not prove that the item can support a particular load.
Ask what a reasonable viewer could infer from the picture. Review those implied claims alongside the product description. If the scene changes the meaning of the offer, change the image or clearly limit where the concept is used.
Open the export before approving it
Download the candidate and inspect it outside the editor. Check dimensions, file format, transparency where required, and whether the saved file is the reviewed version. A preview can conceal a crop or compression issue introduced during delivery.
Choose a format for the destination rather than converting every image to one extension. The PNG, SVG, and JPG guide explains common choices. LogoMakerr's broader file-format guide provides additional context.
Keep the original and the approved master, then export channel-specific copies. Do not repeatedly overwrite the only high-quality file while testing smaller website images.
Approve, revise, or reject the exact file
Use three clear outcomes. Approve when identity and delivery checks pass. Request a revision when a specific change can resolve the issue. Reject when the result misrepresents the product or the source cannot support reliable review.
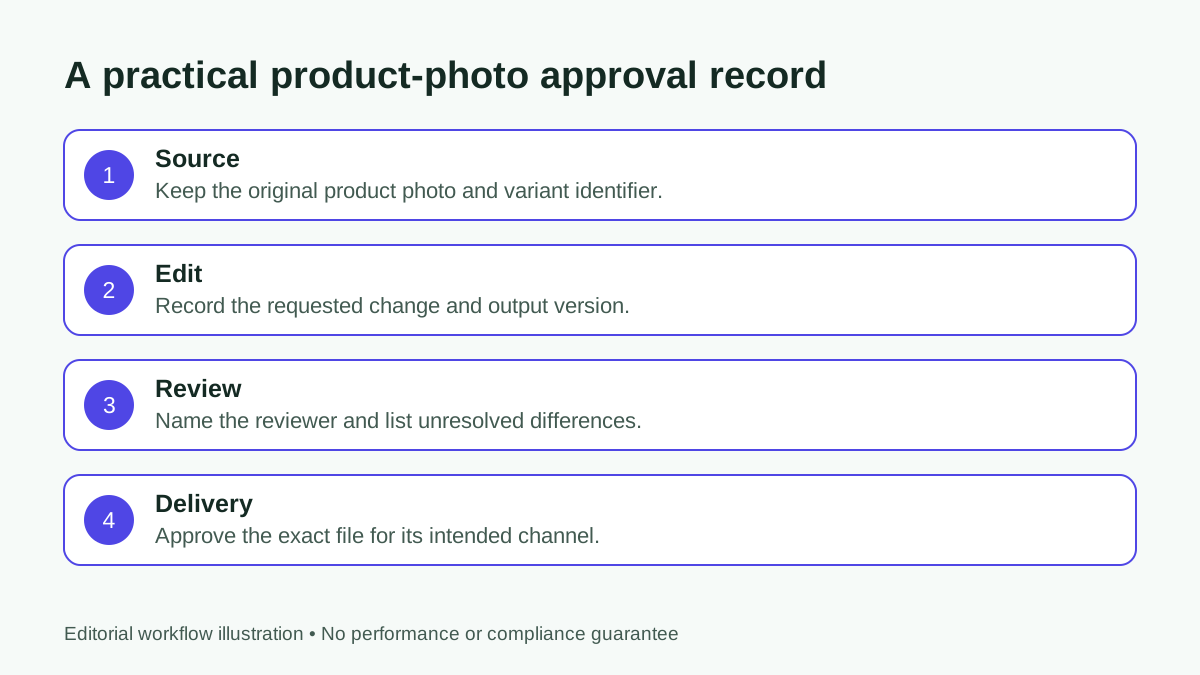
Record the source, output filename, reviewer, intended channel, and any remaining limitations. If a later version changes the scene or crop, review that version again instead of inheriting approval automatically.
After upload, check the public product page on a phone and desktop. Confirm that the platform shows the correct variant, crop, and image order. A correct file can still be paired with the wrong listing.
People also ask
Frequently asked questions
Can an instruction guarantee that AI preserves a product label?
No. Instructions can express the requirement, but every output still needs comparison with an untouched, accurate source.
Should I review only the part I asked to change?
Review the whole image. Check labels, geometry, color, materials, included parts, and the final crop even when the requested edit concerned the background.
What if the original is too blurry to read the label?
Use a better source or a verified additional view. Generated lettering should not be treated as evidence of the real label.
When is a product photo ready to publish?
When the exact exported file passes the identity and delivery checks and has been approved for the intended product variant and channel.