
Natural AI photo retouching works best when you correct the image in layers: start with exposure and white balance, remove only genuine distractions, preserve real skin texture and facial features, then check edges, hair, clothing, and the background at full size. The goal is a cleaner version of the same photograph, not a different face or an artificial beauty filter.
What AI photo retouching should actually improve
AI photo retouching is most useful when it reduces the repetitive parts of editing without changing the meaning of the photograph. A good result can balance exposure, neutralize an unwanted color cast, soften a temporary blemish, reduce a distracting background element, and make local contrast more consistent. It should still look like the same person, product, room, or scene when you compare the before and after images.
That distinction matters because automatic enhancement can easily become automatic replacement. If eyes change shape, skin becomes plastic, hairlines move, jewelry disappears, or the background is rebuilt without a reason, the edit has gone beyond retouching. The AI image editor in Makerr Studio gives you a starting point for these workflows, while the dedicated AI Photo Retouch tool is designed around targeted cleanup. For broader fundamentals, the older photo editing tips can help you decide what should be corrected before you start.
Begin with the strongest source image
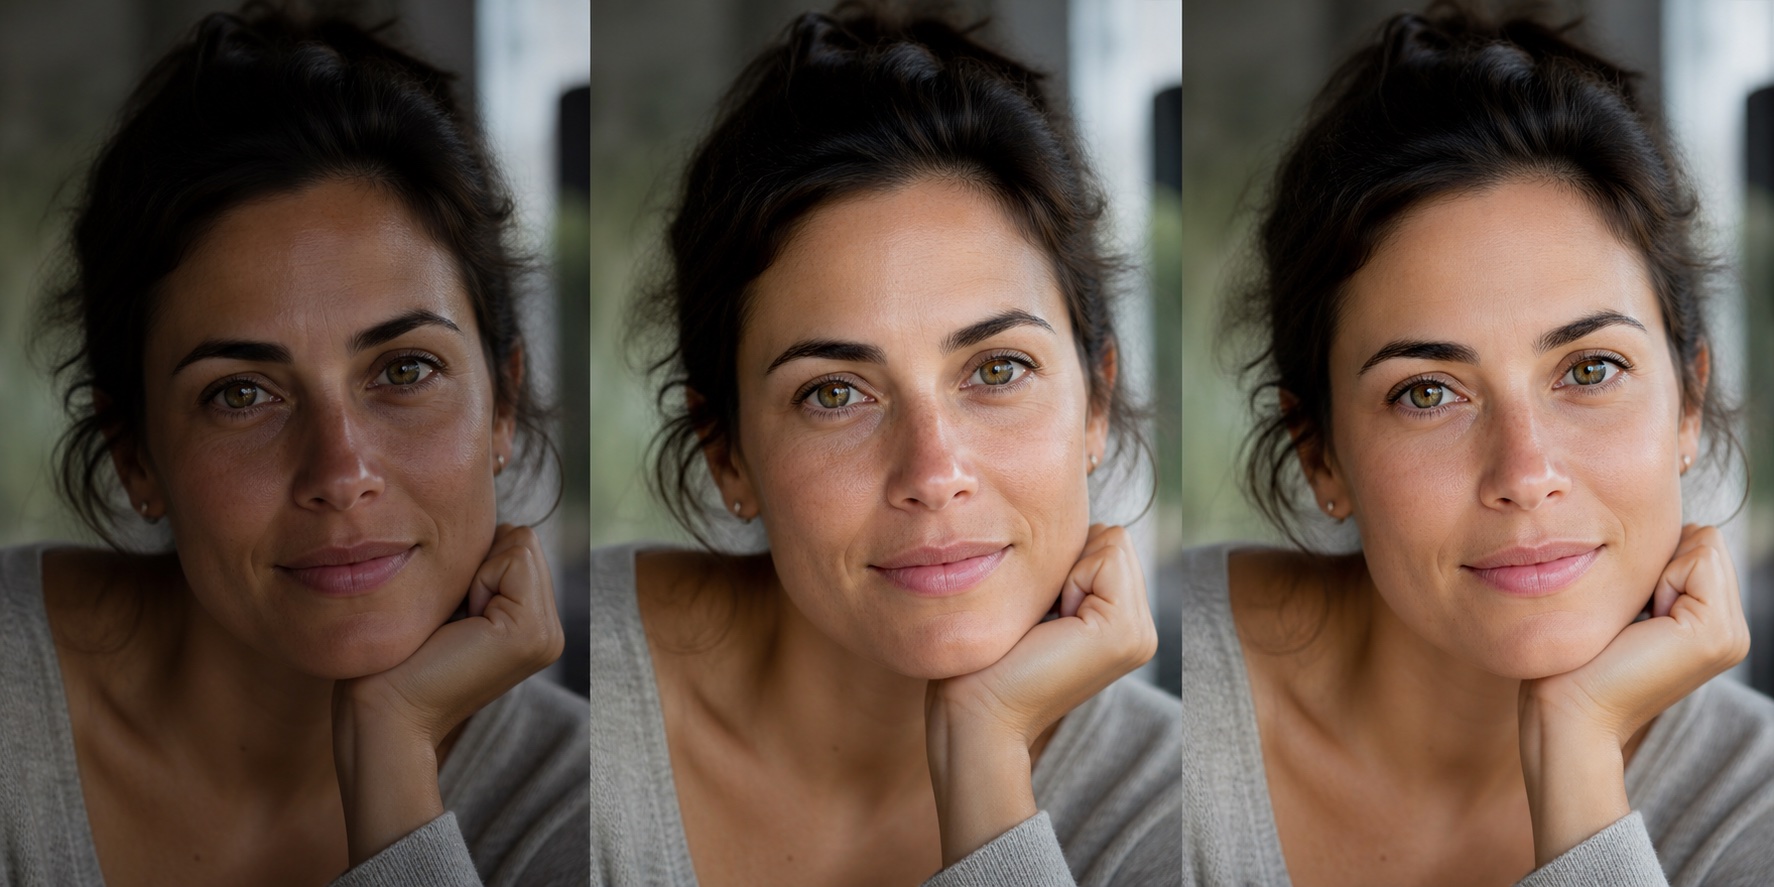
Retouching cannot fully recover detail that was never captured. Start with the original file whenever possible instead of a screenshot, messaging-app copy, or image downloaded from social media. Check focus around the eyes or primary subject, make sure highlights are not completely clipped, and avoid sources that have already been heavily filtered. More real information gives an editing model better material to preserve.
For portraits, even light is easier to improve than a face split between very bright sun and deep shadow. For products, look for clean edges and enough resolution to inspect texture. For old photographs, scan or photograph the print square-on with diffuse light before attempting restoration. A better source often improves the final result more than a more aggressive prompt. The earlier portrait preparation checklist is useful when the source is a person.
Correct exposure and color before skin or detail
Global corrections create the foundation for everything that follows. First decide whether the image is genuinely too dark or bright. Then inspect white balance: indoor lighting can push skin orange, shade can look blue, and mixed lighting can create different color casts across the same frame. Aim for believable neutrals rather than maximum saturation.
Keep contrast controlled. Deepening every shadow and brightening every highlight can make an image look dramatic on a phone while destroying subtle information in hair, dark clothing, clouds, and skin. A natural retouch should still contain detail in important bright and dark areas. When the overall tone is right, local cleanup becomes easier to judge.
Retouch skin without creating a synthetic face
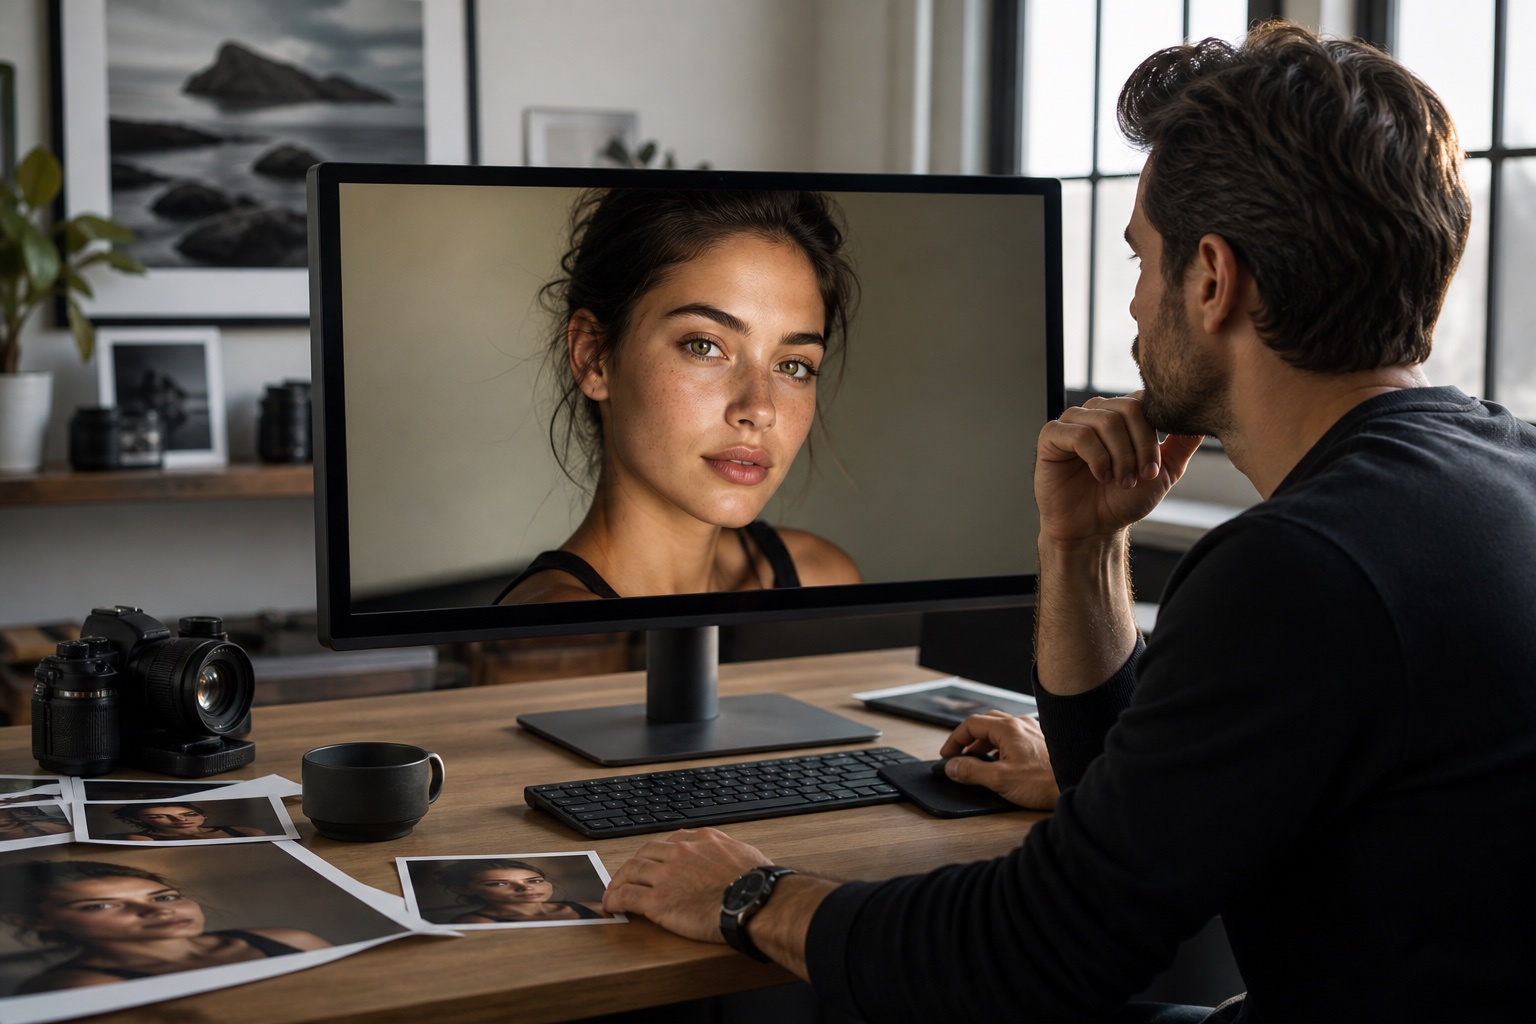
Skin contains pores, fine lines, small changes in color, facial hair, and natural highlights. Removing all of that produces the waxy effect people associate with over-retouching. Correct temporary distractions conservatively while leaving the texture that tells the eye it is looking at a photograph. Moles, freckles, scars, and other lasting features should generally remain unless the person specifically wants them changed.
Watch the eyes and mouth closely. Enhancement tools sometimes sharpen eyes far more than the rest of the face, whiten teeth unnaturally, or alter lip edges while cleaning nearby skin. Compare these features with the original after every significant edit. Identity consistency is more important than making every area perfectly smooth.
Clean distractions without rebuilding the whole scene
Small distractions can pull attention away from the subject: a bright object near the frame edge, a sensor spot in the sky, a temporary stain, or an isolated background item. Remove them when doing so clarifies the photograph, but preserve objects that explain the location or story. A travel portrait should not quietly become a different destination just because the background was complicated.
Pay attention to shadows and reflections after object removal. If an object disappears but its shadow remains, the edit will feel wrong even when viewers cannot immediately explain why. Mirrors, windows, polished tables, glasses, and glossy products often reveal these inconsistencies. Review the complete scene rather than only the pixels that were replaced.
Inspect hair, clothing, hands, and edges at full size
Generative cleanup can struggle around fine boundaries. Zoom to 100 percent and follow the silhouette of hair, shoulders, sleeves, fingers, glasses, jewelry, and any object touching the subject. Look for melted strands, repeated texture, missing fingertips, broken patterns, and halos where foreground and background meet.
Then zoom back out. An imperfection visible only at extreme magnification may not matter, while a slightly distorted hand can be obvious at normal size. Use both views. The close inspection catches technical artifacts; the normal view tells you whether the photograph still feels coherent.
Use a simple prompt hierarchy for controlled edits
Describe what should change and what must stay fixed. A useful instruction might ask for balanced exposure, neutral skin color, removal of one temporary distraction, and preservation of identity, hairstyle, clothing, background geometry, camera angle, and realistic skin texture. Specific constraints make it easier to evaluate whether the result followed the brief.
Avoid stacking unrelated transformations into one retouch. If you simultaneously change the background, hairstyle, clothing, age, expression, and lighting, it becomes difficult to identify which step caused an unwanted result. Make the smallest useful change first, review it, and only then decide whether another pass is necessary.
Export for the destination without throwing quality away
Keep one full-resolution master and create separate delivery copies. JPEG works well for ordinary photographs when file size matters; PNG is useful when lossless output or transparency is required; WebP can provide efficient web delivery where supported. Do not repeatedly open and resave a compressed JPEG as your working master because each generation can discard more information.
For websites, resize to the actual display need and use responsive delivery rather than uploading an enormous camera file everywhere. For printing, keep sufficient pixel dimensions for the intended physical size and follow the printer's color and file requirements. The best export is not the largest file; it is the file that preserves the required quality for its destination.
A final natural-retouch checklist
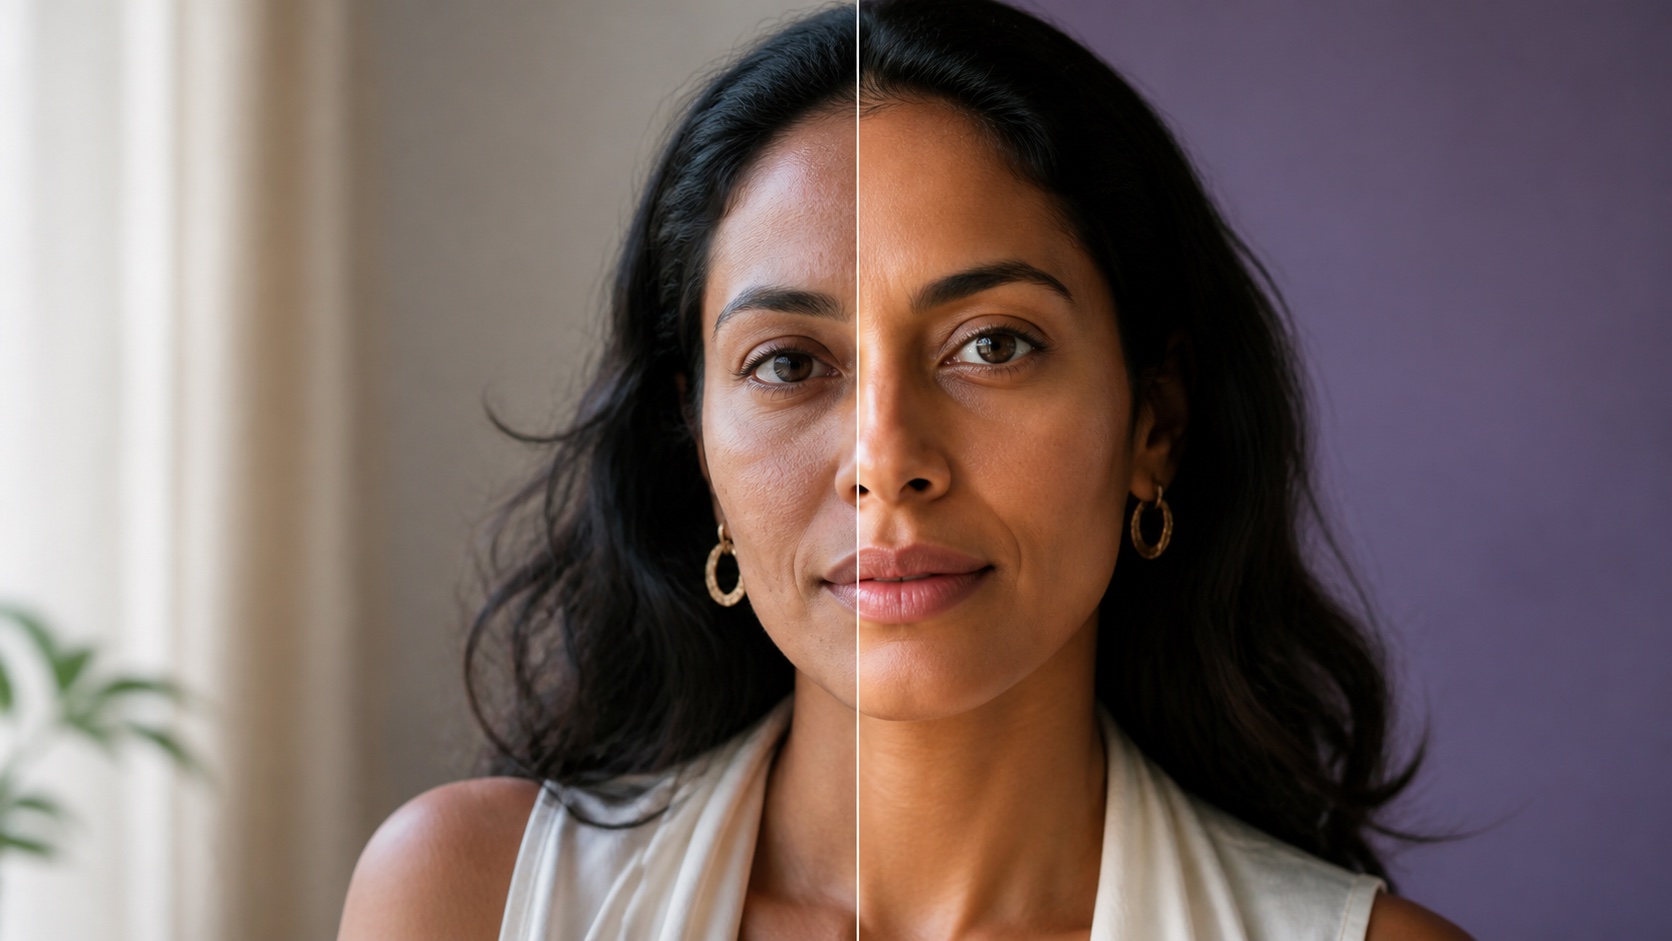
Before downloading, compare the original and edited versions side by side. Confirm that the subject is immediately recognizable, skin still has texture, eyes and teeth remain believable, hair and clothing edges are intact, and removed objects have not left impossible shadows or reflections. Check that important background lines still make sense and that no text or logo was accidentally rewritten.
Finally, ask whether every change serves the photograph. If an edit exists only because the software could make it, consider removing it. Natural retouching is selective. The strongest result usually contains fewer visible interventions than an over-processed image, while still solving the exposure, color, cleanup, and presentation problems that made the original harder to use.
People also ask
Frequently asked questions
What is AI photo retouching?
AI photo retouching uses machine-learning tools to assist with corrections such as exposure, color, temporary blemishes, distracting objects, and local detail while an editor reviews the result.
How do I keep AI retouching looking natural?
Preserve identity and real texture, make small targeted corrections, compare against the original often, and avoid changing unrelated facial features, clothing, or background elements.
Should AI remove every skin imperfection?
No. Natural skin includes pores, lines, color variation, freckles, facial hair, and other lasting features. Remove temporary distractions conservatively rather than smoothing everything.
What image format should I export after retouching?
Use a full-resolution master, then export for the destination: JPEG for many photos, PNG when transparency or lossless output matters, and WebP for efficient web delivery where supported.