
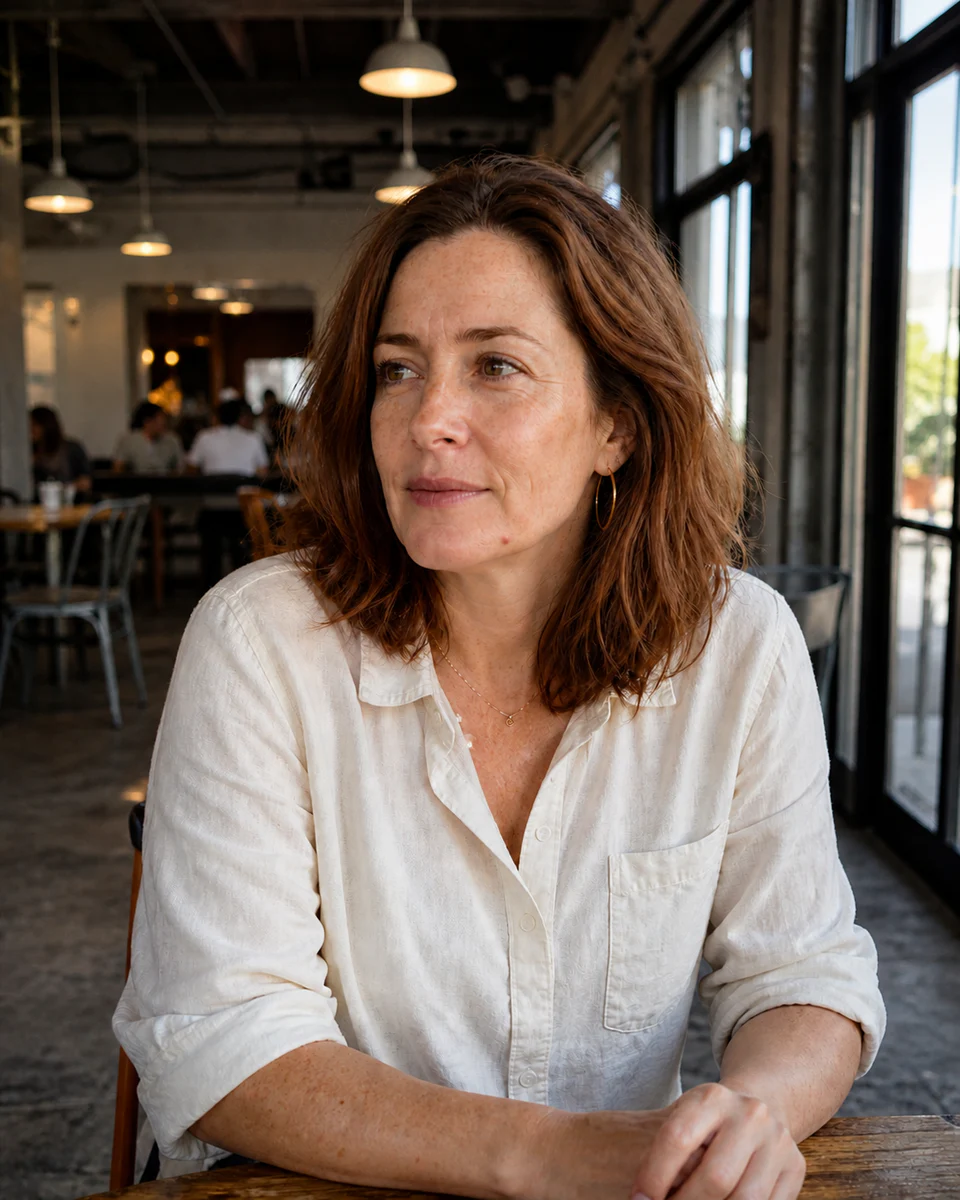
Before uploading a portrait to an AI tool, check five things: soft and even light, sharp focus on the eyes, enough resolution for facial detail, comfortable space around the subject, and an expression that matches the intended result. Remove heavy filters and choose a photograph in which the face is unobstructed. These small source-image improvements protect identity, reduce correction work, and give the model better information than a dramatic but technically weak picture.
Why the source portrait matters more than the prompt
AI portrait tools can refine color, reduce distractions, or place a person in a new visual setting, but they still depend on the information in the uploaded photograph. If an eye is hidden in deep shadow, the model has to estimate it. If the face is blurred, a sharper result may look polished while drifting away from the person's real features. The prompt describes an intention; the source image establishes identity, proportions, light direction, and the small details that make the person recognizable.
A reliable portrait photography checklist therefore starts before generation. Review the photograph as if you were preparing it for a careful editor. Then use a focused AI photo retouch tool only after confirming that the face, expression, and important details are already visible. A technically clean input gives the system less reason to invent missing information and makes subtle, natural-looking changes easier to achieve.
Find soft light that preserves facial structure
Soft window light, open shade, or a large diffused lamp is usually more useful than direct midday sun or a small ceiling light. The goal is not flat brightness. A gentle direction still defines the cheekbones, nose, and jaw while keeping detail in the shadow side of the face. Turn the subject slightly toward the light and check that both eyes contain a visible catchlight. If one side disappears into black or the forehead clips to pure white, change the position before taking another photograph.
Mixed color temperatures can also confuse a portrait. Daylight from a window and an orange household bulb may give the two sides of the face different skin tones. Turn off the weaker source or move to a place with one dominant type of light. Avoid colored LED effects for the source image unless that color is essential to the intended portrait. A neutral, well-exposed base is flexible: atmosphere and color can be added later without forcing the model to separate real skin color from decorative lighting.
Check focus, resolution, and compression
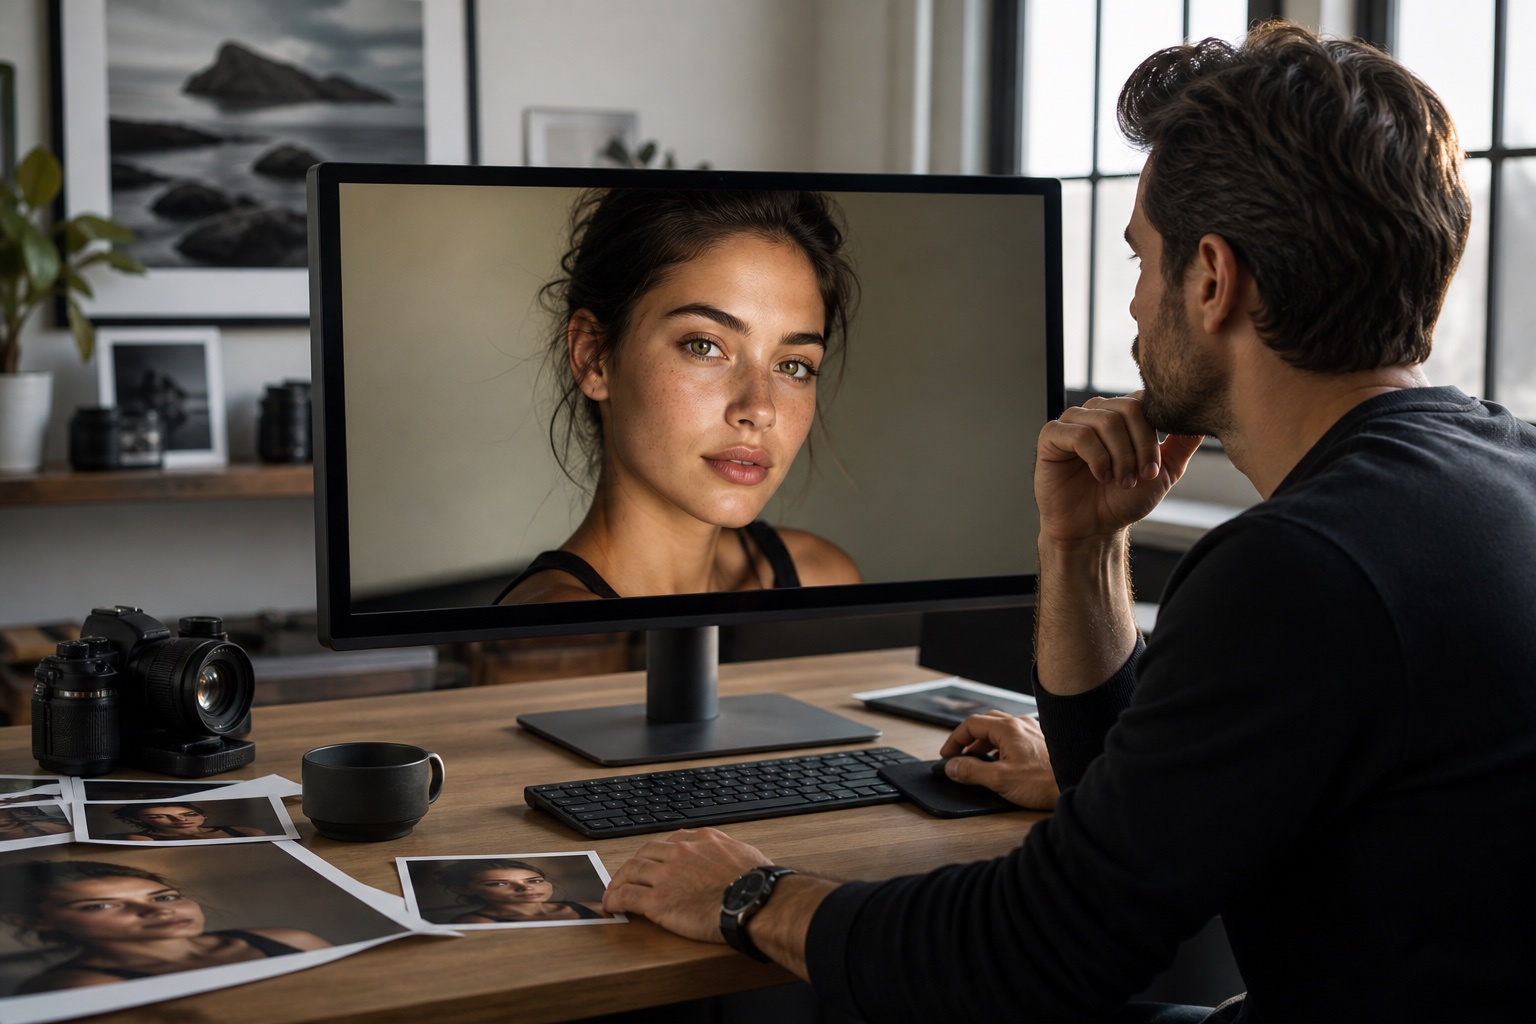
Zoom to 100 percent and look first at the eyes, eyelashes, hairline, and edges of the mouth. At least the nearer eye should be genuinely sharp. Phone portrait modes sometimes blur hair, glasses, or an ear because the depth mask mistakes them for background. That blur may become more obvious after processing. Choose a normal camera frame when portrait mode damages the outline, and clean the lens before shooting; fingerprints create a soft glow that no amount of sharpening can fully reverse.
Use the original file whenever possible. Messaging apps, screenshots, and repeated social-media downloads reduce detail and add blocks around high-contrast edges. A larger file is not automatically better if it is out of focus, but a sharp high-resolution portrait gives the tool more real texture to preserve. Do not enlarge a tiny image merely to increase its pixel dimensions. Upscaling can help presentation later, but it cannot restore the exact identity cues that were never captured in the source.
Frame the subject with useful breathing room
A tight crop can be attractive as a finished photograph and still be a poor editing source. If the top of the head, hair, shoulders, or clothing is cut off, the tool may have to construct those areas when the new format needs more space. Capture at least one version with the full head and upper torso visible. Keep a little space above and beside the subject, especially when the result may become a profile image, banner, invitation, or vertical social post.
Check camera height and lens distance as well. A phone held very close can exaggerate the center of the face, while a low or high camera changes the relationship between forehead, chin, and body. Step back and use a moderate zoom when possible. Keep the camera close to eye level for a neutral result. More stylized angles can work, but they should be chosen deliberately because the model will carry their perspective into clothing, background, and pose.
Protect expression and recognizable identity
Expression is structural information, not a decorative layer. A broad smile changes the eyes, cheeks, mouth, and jaw at once. Asking a tool to turn a tense or neutral source into an exuberant laugh may require it to rebuild much of the face. Choose a source expression that already belongs near the desired mood. For a professional headshot, look for relaxed attention; for a family concept, a gentle natural smile may combine more easily with other portraits than an exaggerated reaction.
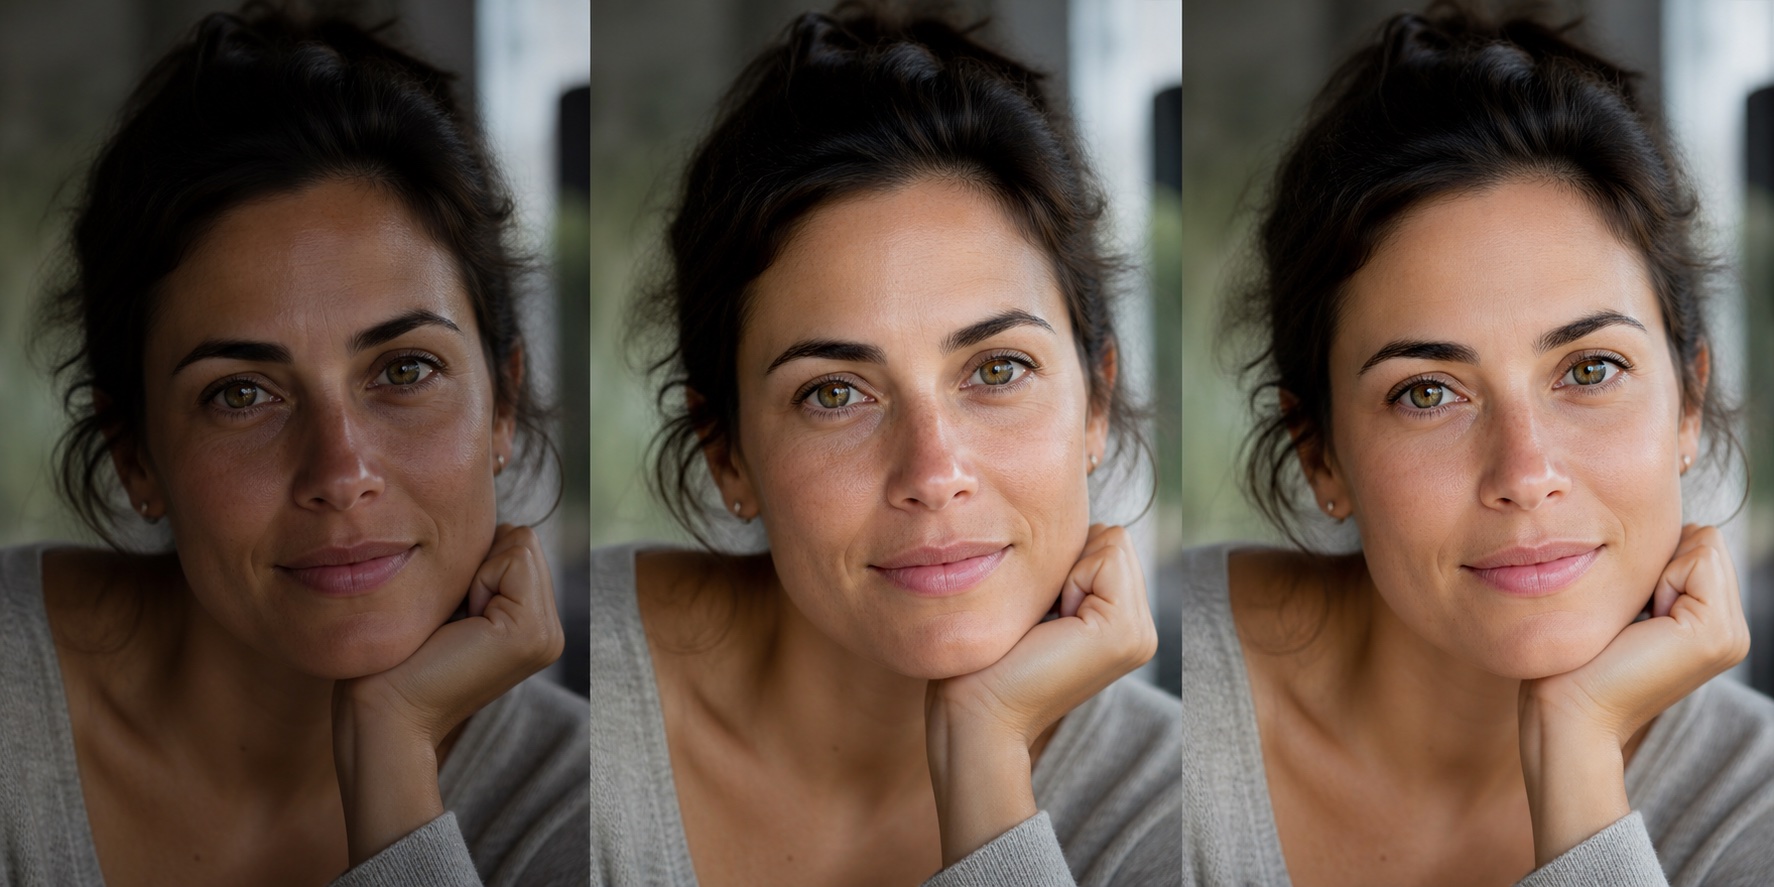
Remove beauty filters before uploading. Filters that enlarge eyes, reshape the jaw, smooth all skin texture, or alter skin tone create a modified identity as the starting point. The next tool may strengthen those changes. Use a clean source, preserve freckles and stable features, and compare the result beside the original at normal size. A successful portrait should feel like the same person photographed under better conditions—not a plausible stranger with similar hair and clothing.
Simplify the background, wardrobe, and obstructions
The background does not need to be empty, but it should not compete with the outline of the person. Tree branches through the hair, high-contrast signs, mirrors, and people crossing behind the shoulders can be mistaken for part of the subject. Move a step to one side or place the subject farther from the background so it becomes softer. Check for objects that appear to grow from the head and reflections that reveal private information before the image leaves your device.
Clothing should support the requested result. Fine stripes and tiny repeating patterns can produce moiré or inconsistent textures, while a collar hidden by hair may be reconstructed unevenly. Solid or moderately textured garments are flexible, and visible shoulder lines help the system understand pose. Remove sunglasses, heavy face coverings, and hair across the eyes unless they are essential. Ordinary prescription glasses are usually fine when the lenses do not contain strong glare that hides the eyes.
Run a five-minute pre-upload inspection
Review the whole frame once, then inspect the face and edges in a fixed order. Confirm that the image is the intended person and version, because similar filenames can make it easy to upload an old or private photograph. Look for focus on the eyes, natural skin color, readable shadow detail, clean glasses, complete hair, and enough room around the subject. Scan the background for documents, screens, addresses, bystanders, or other details that should not be shared.
Finally, decide whether the photograph matches the tool and the outcome. A full-body fashion transformation needs more than a headshot, while a facial retouch does not benefit from a distant group image. Save the untouched original separately and upload a copy. That preserves a reliable reference for comparison and prevents a processed export from becoming the only version of an important portrait.
- Confirm the correct file and the subject's permission to use it.
- Check both eyes, the hairline, glasses, and mouth at full size.
- Look for one consistent light color and recoverable highlights.
- Confirm that the crop includes every feature the final format needs.
- Remove private background details and save the untouched original.
Recognize when to choose another photograph
Choose another source when the face is smaller than a thumbnail, motion blur crosses the eyes, a hand covers important features, or strong effects have permanently changed the file. Also avoid photographs captured from printed pages when a digital original exists; paper texture, glare, and perspective distortion add uncertainty. For an irreplaceable older photograph, make a careful scan, correct rotation and exposure gently, and accept that the result may require more review than a recent phone portrait.
A good checklist reduces retries and makes responsible editing easier. It also helps you notice when the requested transformation is not appropriate for the available image or permission. The earlier responsible AI photo editing guide explains consent, privacy, and honest presentation in more detail. Combining those standards with strong source photography produces portraits that are technically cleaner, more recognizable, and easier to share with confidence.
People also ask
Frequently asked questions
What is the best lighting for an AI portrait source photo?
Use soft, neutral, directional light such as a bright window or open shade. Keep both eyes visible, avoid clipped highlights, and remove mixed-color lighting when possible.
How large should a portrait be before uploading?
Use the original sharp file with enough resolution to see the eyes, hairline, and skin texture at full size. A clear modern phone photograph is usually better than an enlarged screenshot.
Should I remove filters before using an AI portrait tool?
Yes. Beauty filters can change face shape, eye size, skin tone, and texture, causing later processing to amplify an already altered identity.
Why does my generated portrait not look like me?
The source may be blurred, heavily shadowed, tightly cropped, filtered, or captured from an extreme angle. Choose a clearer neutral photograph and request smaller changes.