
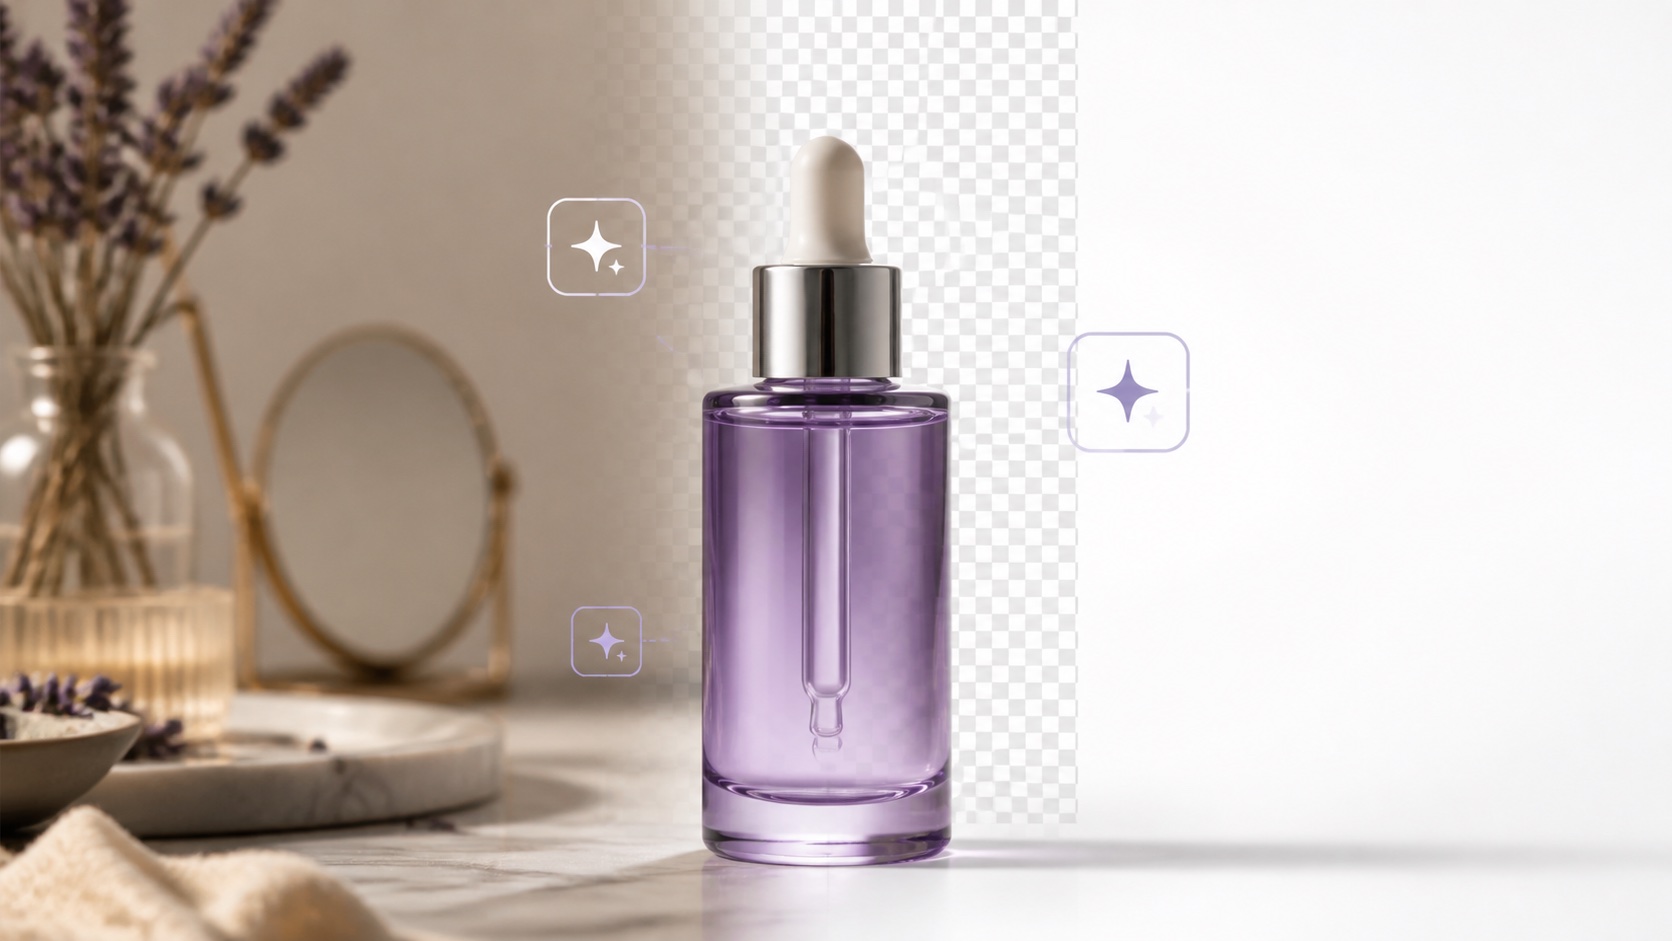
An AI background remover identifies the main subject, separates it from the surrounding pixels, and exports the subject on a transparent or replacement background. The best results start with a sharp, well-lit image that has visible contrast between the subject and its background. After removal, inspect fine edges, restore a natural contact shadow when needed, and export as PNG for transparency or WebP/JPEG for a finished solid background.
What an AI background remover actually does
Background removal used to mean tracing a subject by hand with a pen tool, refining the mask, and painting around difficult details. Modern systems estimate which pixels belong to the foreground and which belong to the scene behind it. That makes the first cutout dramatically faster, but it does not eliminate the need for judgment. A model may confuse translucent glass with the background, clip flyaway hair, erase a pale edge against a white wall, or keep a halo of the original color.
The useful question is not simply whether the background disappeared. Ask whether the subject still looks complete and believable in its new context. A clean cutout should preserve the object's silhouette, important internal gaps, semi-transparent details, and the small grounding cues that make it feel photographed rather than pasted. If you need a quick starting point, open the AI background remover in Makerr Studio and choose the purpose-built PNG maker for a transparent export.
Choose a source image the model can understand
A strong source photo is the biggest predictor of a strong result. Use the original file rather than a screenshot or an image downloaded repeatedly from social media. Compression smears the boundary between adjacent colors, particularly around hair and fabric. Make sure the subject is in focus, fully inside the frame, and large enough to contain real detail. An object that occupies only ten percent of the image gives the model fewer reliable pixels to classify.
Contrast also matters, but contrast does not have to mean a bright color. A cream handbag can be separated from a cream wall if the lighting defines its edge and the depth of field keeps the wall soft. Problems occur when the edge and background share both color and brightness. When possible, place the subject against a simple surface, move it a little farther from the backdrop, and light it from the front or side so its outline remains visible.

A step-by-step workflow for a clean transparent PNG
Upload the highest-resolution version of your photo and run the initial removal without applying extra filters. Evaluate the whole silhouette first. Look for missing corners, handles, earrings, narrow product stems, and interior spaces such as the hole in a mug handle. Next, zoom in and travel around the edge in one direction. This simple inspection pattern prevents you from checking the obvious areas twice while missing the bottom or far side.
If the cutout will sit on a light page, preview it on both white and dark backgrounds. A pale fringe becomes obvious on black, while a dark contamination line becomes obvious on white. Correct only the affected region if your editor provides restore and erase controls. Aggressive global cleanup can make a technically smooth edge look unnaturally hard. The goal is not a mathematically perfect contour; it is the right contour for the material and destination.
- Upload the original, sharpest file.
- Generate the cutout and check the full silhouette.
- Inspect difficult materials at 100–200% zoom.
- Preview the edge on light, dark, and colored backgrounds.
- Restore missing details with a small brush, then export once.
How to handle hair, fur, glass, and soft fabric
Different materials need different edge behavior. Hair and fur require partial transparency: individual strands should taper rather than end in a hard staircase. Fine fabric and lace contain real gaps, so filling every opening produces a cardboard effect. Glass is more complex because some of the background remains visible through it. A useful cutout preserves the outline, highlights, tint, and varying transparency instead of turning the entire object opaque.
When the automatic mask struggles, avoid trying to rescue every microscopic strand. Preserve the main hair mass, a believable number of flyaways, and the natural softness of the contour. For e-commerce at typical card sizes, the perceived edge matters more than invisible detail at 800% zoom. If the subject will appear in a large hero banner, use a higher-resolution source and spend extra time around the most visible edge against the final background.

Do not remove the shadow blindly
A product photographed on a surface normally has a contact shadow directly beneath it and a softer cast shadow farther away. Removing both can make the product look suspended. For a transparent PNG used in flexible layouts, it can be sensible to remove the old cast shadow and rebuild a neutral one in the final composition. For a marketplace image on white, keeping a subtle natural shadow often makes the object feel more dimensional and accurate.
Watch for shadows that reveal the old background color. A purple-tinted shadow carried onto a warm beige scene will look wrong even if the cutout is clean. Reduce the color cast, lower the opacity, and match the new light direction. Shadow work should remain understated: viewers should notice that the product feels grounded, not that an effect was added.
PNG, WebP, or JPEG: choose the right export
Choose PNG when the background must remain transparent, when the edge needs lossless detail, or when the file will be placed in design software. PNG files are usually larger, so resize them to the maximum dimensions actually required. WebP can support transparency with smaller files and is useful for websites when your publishing system handles it correctly. JPEG does not support transparency, but it remains efficient for a completed image with a solid or photographic background.
Exporting repeatedly as JPEG introduces new compression artifacts around the exact boundary you worked to protect. Keep a transparent master, then derive channel-specific versions from that master. Use an sRGB color profile for dependable web display and descriptive filenames such as lavender-serum-transparent.png. Add useful alt text that describes the visible subject rather than stuffing the keyword into every image description.
Common background removal mistakes
The most common mistake is accepting the first result at thumbnail size. Other frequent problems include uploading a blurred screenshot, cropping too tightly, erasing interior openings, leaving a colored halo, and placing a perfectly sharp cutout onto a heavily blurred scene. That last mismatch is subtle: the foreground and background appear to have been photographed with different lenses. Apply a tiny amount of edge softness or choose a sharper replacement scene.
Another mistake is forcing one asset to serve every channel. A marketplace may require a pure white background and a particular subject scale, while a social ad benefits from negative space and a branded color. Produce a clean master cutout, then create separate compositions. For more preparation guidance, the earlier clean-background guide covers practical checks for hair, glass, and soft shadows.
A fast quality-control checklist
Before publishing, check five things: completeness, edge color, transparency, grounding, and destination fit. Completeness means the subject has no missing tips or filled holes. Edge color means no old backdrop is visible. Transparency means translucent materials still behave naturally. Grounding means the object has an appropriate contact shadow or is intentionally floating. Destination fit means the crop, file type, dimensions, and background follow the channel's rules.
Finally, view the asset at its real display size on a phone and a desktop. A mask can look impressive enlarged but produce a distracting outline when reduced, or look fine in the editor and fail on a contrasting mobile background. This short review is the difference between a technically processed image and a finished commercial asset.
People also ask
Frequently asked questions
What is the best image format after removing a background?
Use PNG for a transparent master. WebP is often smaller for websites and can also preserve transparency. Use JPEG only after adding a solid or photographic background.
Why does my cutout have a white halo?
The mask retained partially transparent pixels colored by the original light background. Preview on a dark layer, reduce edge contamination, and refine only the affected boundary.
Can AI remove a background from hair or glass?
Yes, but results depend heavily on resolution, contrast, and lighting. Inspect partial transparency and restore important detail rather than applying an overly hard edge.
Should product shadows be removed too?
Keep a neutral contact shadow when it helps the product feel grounded. Remove or rebuild cast shadows that conflict with the new background's color and light direction.