
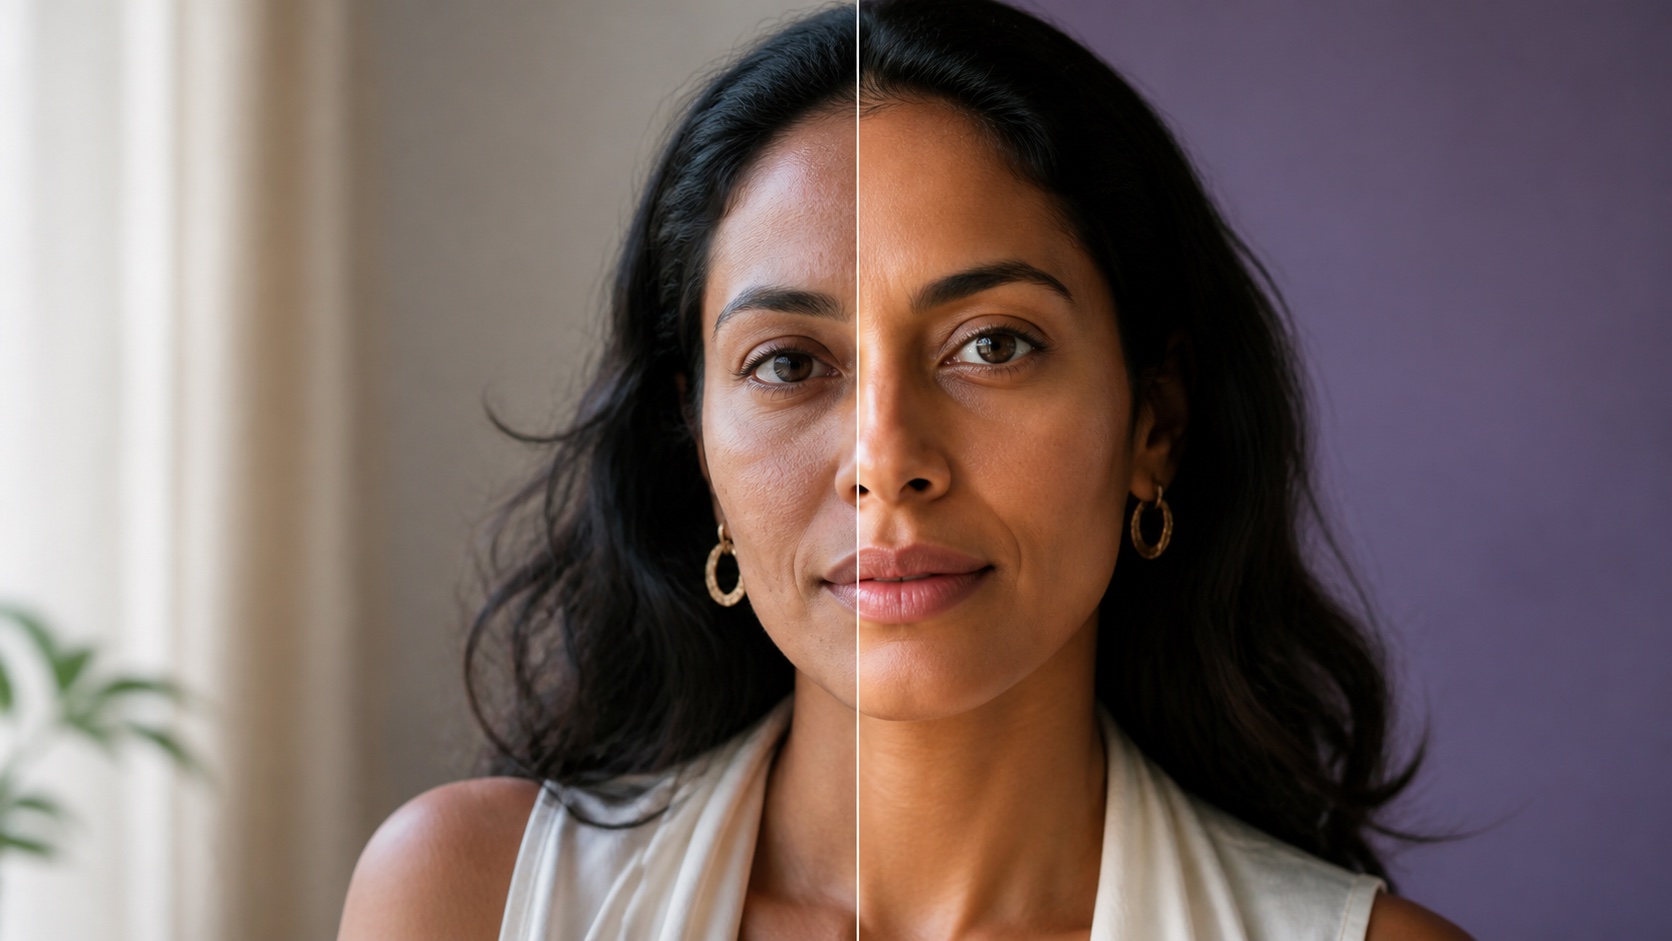
Natural AI photo retouching improves the photograph while preserving the person's identity. Correct exposure and white balance first, remove only temporary or distracting elements, retain real skin texture, and compare the result with the original at normal viewing size. A good retouch should look like the same person photographed under better conditions, not a different face generated by software.
What AI photo retouching should—and should not—change
Retouching is most successful when it improves the conditions of a portrait rather than redesigning the person. Useful changes include balancing exposure, correcting a color cast, softening a harsh shadow, reducing temporary blemishes, cleaning lint, and removing a small background distraction. Changes to eye shape, jaw structure, nose size, skin tone, or body proportions move beyond photographic cleanup and can quickly break recognition or create unrealistic expectations.
A helpful test is to imagine the result as a second frame from the same photo session. Could a better light position, fresh makeup, a cleaned lens, or a small change in timing reasonably produce it? If yes, the edit will usually feel authentic. You can begin with the AI photo retouch workspace, then use the focused AI photo retouch tool to balance the image without stacking unrelated effects.
Start with exposure, white balance, and contrast
Viewers read lighting before they notice skin detail. Correct the global image first: lift an underexposed face, recover bright highlights where possible, and neutralize an unwanted green, blue, or orange cast. Be careful with automatic contrast, which can deepen shadows under the eyes and exaggerate texture. A portrait usually benefits from a gentle tonal curve that keeps highlight detail while giving the face enough separation from the background.
Use familiar neutral references in the scene. A white shirt, gray wall, or the whites of the eyes can reveal a strong color cast, although none should be forced to pure white. Skin tones vary widely and should never be normalized to a single target. The goal is internal consistency: the face, neck, hands, and surrounding light should belong to the same environment.
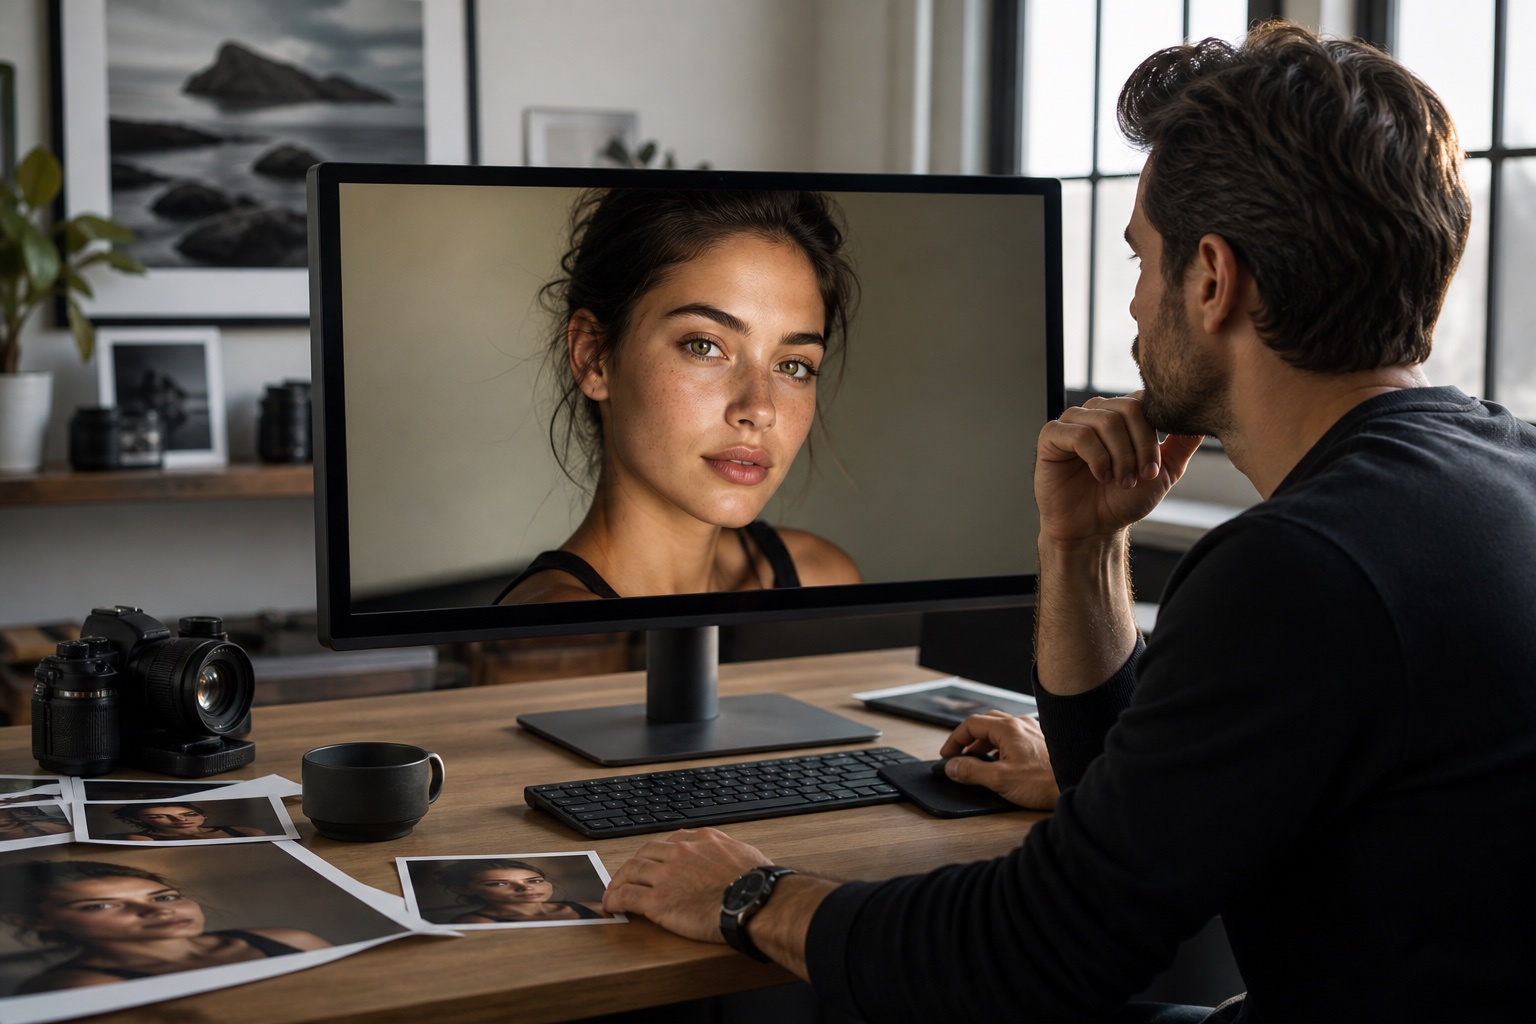
Preserve texture to avoid the plastic-skin effect
Skin has pores, fine lines, small color variations, and directional texture. Broad smoothing removes those signals and makes the face look waxy, especially around the cheeks and forehead. It can also leave a mismatch between an airbrushed face and a detailed neck, hairline, or hands. Instead of blurring an area, reduce only the contrast of the temporary distraction and keep the surrounding texture intact.
Review texture at two scales. Zoom in enough to see whether pores were smeared, then zoom out to the size at which the portrait will be used. Microscopic imperfections that disappear at normal size do not need correction. This prevents endless editing and preserves a more human result. If the portrait is intended for a small profile photo, clarity around the eyes and overall tonal balance matter far more than perfect skin at 400% zoom.
A natural AI retouch workflow, step by step
Begin with the original file and save a separate working copy. Make the global exposure and color correction, then address the background and clothing before the face. Dust spots, a bright exit sign, or lint on a dark jacket often pull more attention than any facial detail. When you reach the face, remove only short-term distractions you would expect to change naturally, and leave permanent features unless the person specifically requests otherwise.
Next, evaluate the eyes and teeth without forcing them to pure white. Slight brightening can restore the effect of good light, but glowing eyes and blue-white teeth announce the edit. Finish with modest sharpening tailored to the output size. Export a full-resolution master and a resized delivery file, then stop looking at the image for a few minutes. A fresh view makes excessive smoothing and color shifts easier to notice.
- Duplicate the original and keep a non-destructive master.
- Balance exposure, highlights, shadows, and white balance.
- Clean obvious background and clothing distractions.
- Reduce temporary facial distractions selectively.
- Check texture, eyes, teeth, and identity at normal size.
- Resize and sharpen once for the intended channel.
Decide what counts as a distraction
Context changes the answer. A headshot for a company directory may benefit from removing a temporary blemish, lint, and a bright background object. A documentary family photograph should usually retain more of the moment. A beauty campaign may involve deliberate makeup and lighting refinement, but it still needs clear standards about shape changes and texture. Ask what the image is for, who will see it, and what the subject expects.
Consent matters whenever the editor and subject are different people. Do not assume someone wants scars, moles, wrinkles, or cultural features removed. When in doubt, provide a restrained version and explain the changes. Respectful retouching gives the subject agency and reduces the chance that a polished result feels like a judgment about their real appearance.
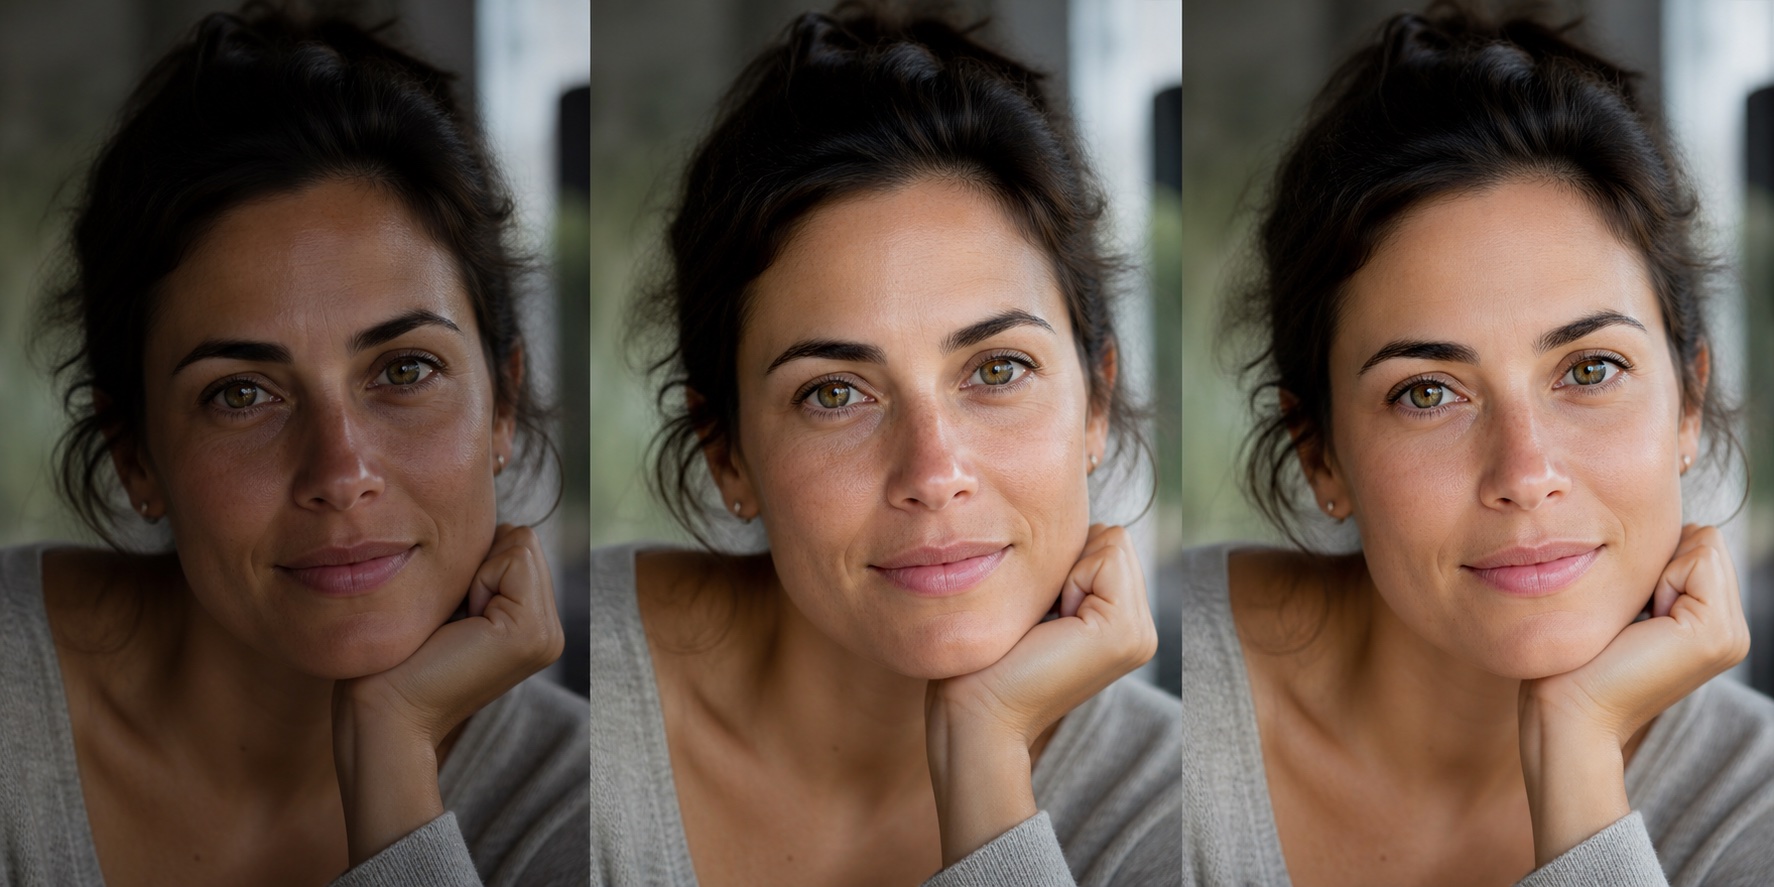
Match retouching to the final destination
A professional headshot needs clean color, reliable skin tone, and enough contrast to remain clear at a small size. A dating profile usually benefits from a lighter touch because trust and recognizability are central. An e-commerce lifestyle image must stay consistent across an entire campaign, so build a repeatable preset for tone while keeping local facial edits individual. Printed portraits require additional attention to shadow detail because paper can reproduce dark tones differently than a bright screen.
Do not export one file and hope it works everywhere. Keep a high-resolution master, then create versions for the profile crop, the website card, and print. Check each crop for awkward cuts through hair, hands, or shoulders. A natural edit can still fail if a circular avatar crops away the contextual light that made it believable.
How to spot an over-retouched portrait
Warning signs include identical texture across the entire face, missing expression lines, unnaturally bright irises, uniform teeth, a sharp face on a soft neck, halos along the jaw, and skin color that no longer matches the ears or hands. Geometry may also drift: earrings become asymmetric, hairlines move, or the face narrows. Compare landmarks such as eye spacing, smile shape, and jaw contour with the source image.
If the edit feels wrong, step backward rather than adding another correction. Reduce the overall effect, restore texture, and return local features toward the original. The earlier five-minute portrait checklist is useful before uploading because good framing and light reduce the amount of retouching needed later.
Build a consistent, responsible portrait style
Consistency does not mean applying the same smoothing strength to every face. It means using the same visual principles: natural texture, balanced contrast, honest color, clean backgrounds, and repeatable output dimensions. Write a short retouch specification for teams. Define what may be corrected automatically, what requires subject approval, and what should never be changed. This turns an aesthetic preference into an accountable workflow.
Store the original, the editable master, and the final exports separately. Name files clearly and avoid overwriting the source. Revisit a few finished portraits on different screens to ensure the style remains natural beyond the editor's display. A dependable workflow saves time because every new portrait begins with shared decisions instead of a new debate.
People also ask
Frequently asked questions
What does an AI photo retouch tool do?
It can balance exposure and color, reduce temporary distractions, clean backgrounds, and improve presentation. A responsible workflow preserves identity, skin texture, and permanent features.
How do I make AI retouching look natural?
Correct global light and color first, keep pores and expression lines, make selective local changes, and compare the result with the original at normal viewing size.
Should wrinkles and scars be removed?
Not automatically. They may be permanent or meaningful features. If you are editing someone else's portrait, ask what they want changed and default to a restrained version.
Why does retouched skin look plastic?
Too much broad smoothing removes the varied texture and directional detail that signal real skin. Restore texture and reduce only the contrast of specific temporary distractions.