
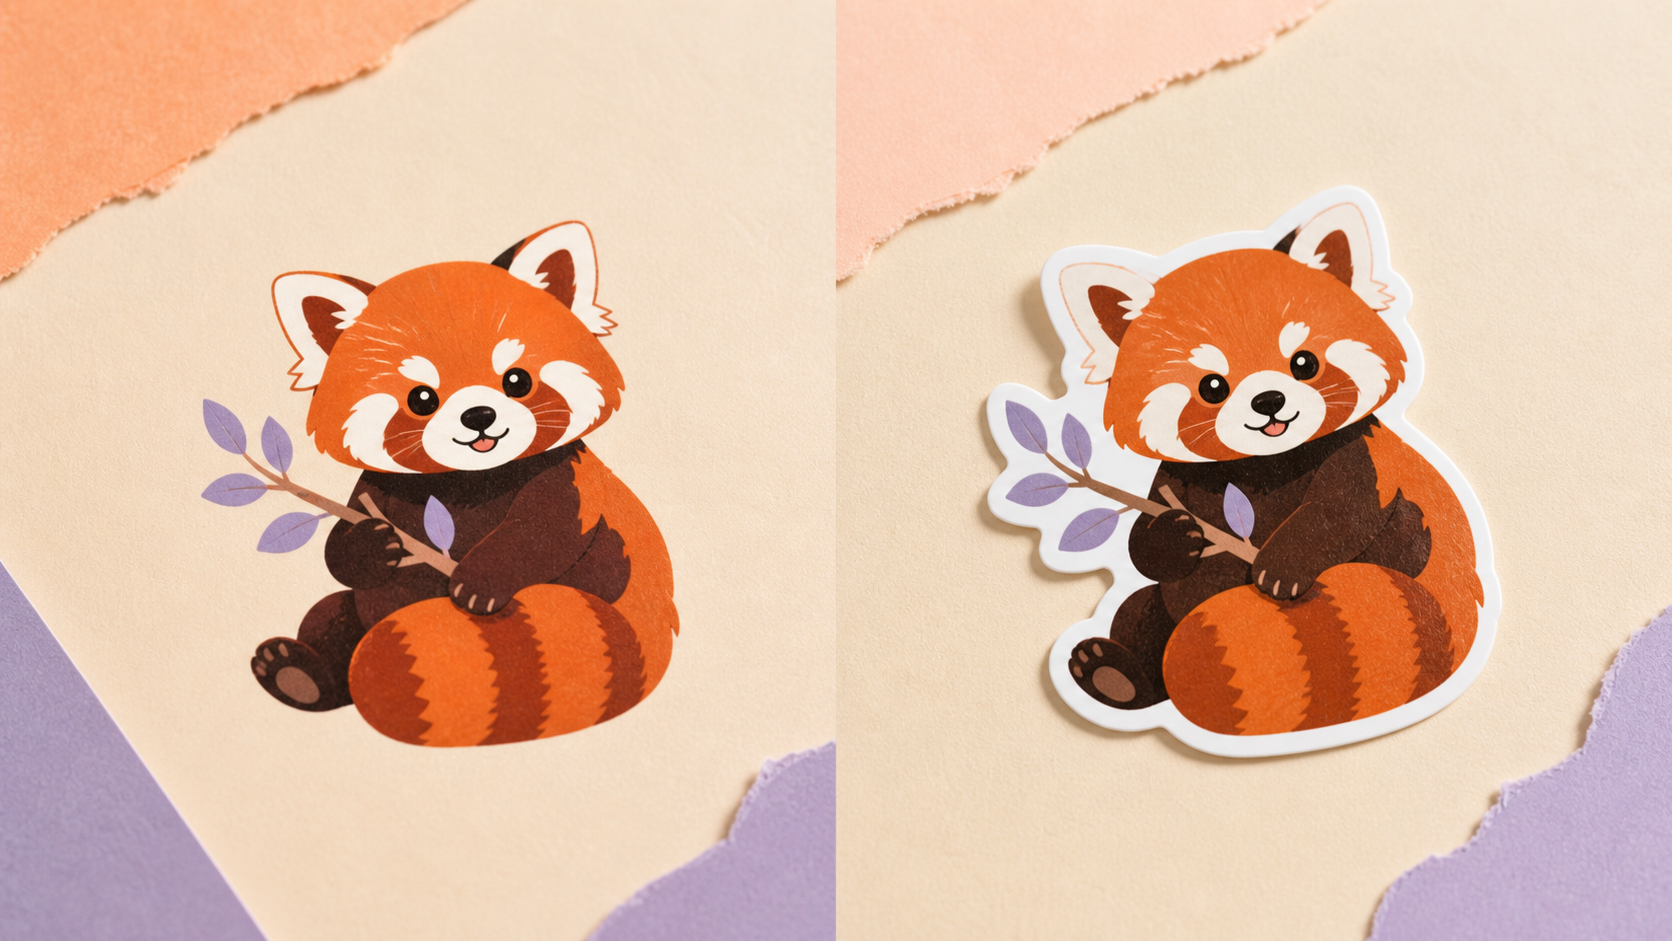
To make a clean sticker outline with AI, start with one sharp subject on a simple background, remove unwanted background pixels, and add a single border that follows the complete silhouette. Use a medium outline for most digital stickers, inspect narrow gaps and fine details at full size, then export a transparent PNG. For print, confirm bleed, cut-line, color, and resolution requirements with the printer before ordering.
What an AI sticker maker does
An AI sticker maker separates the main subject from its background, follows the outside contour, and adds a border that turns the image into a self-contained graphic. The border can be white, colored, or transparent depending on the destination. For a die-cut look, it should behave like one continuous shape around the artwork rather than tracing every internal line. That outer silhouette is what makes a sticker readable at small sizes and practical to cut.
The useful result is not simply an image with a stroke. It has clean negative spaces, stable curves, protected fine details, and enough padding to keep the subject away from the cut edge. Open the AI sticker maker in Makerr Studio, then choose the dedicated image outline tool to build the border without stacking unrelated transformations. Keep the original artwork unchanged so you can compare the silhouette and recover details if the automatic mask removes too much.
Choose source artwork with a strong silhouette
Bold illustrations, product photos, pets, food, icons, badges, and simple portraits usually make effective stickers because viewers can recognize them from the outline alone. Use the largest original file available. Screenshots and repeatedly compressed JPEGs create blocky edges that the outline may faithfully reproduce. Leave visible space around the subject; a crop that touches the image boundary gives the tool no information about where the object ends.
Contrast helps the system distinguish the subject from the scene. A dark object on a dark background may need background removal or a cleaner source before outlining. Fine hair, translucent glass, smoke, lace, and deep shadows are more difficult because their boundaries are not fully solid. Decide whether the sticker should preserve those soft details or simplify them into a graphic shape. For small stickers, a clear silhouette often matters more than preserving every strand or texture.
Step by step: create a clean sticker outline
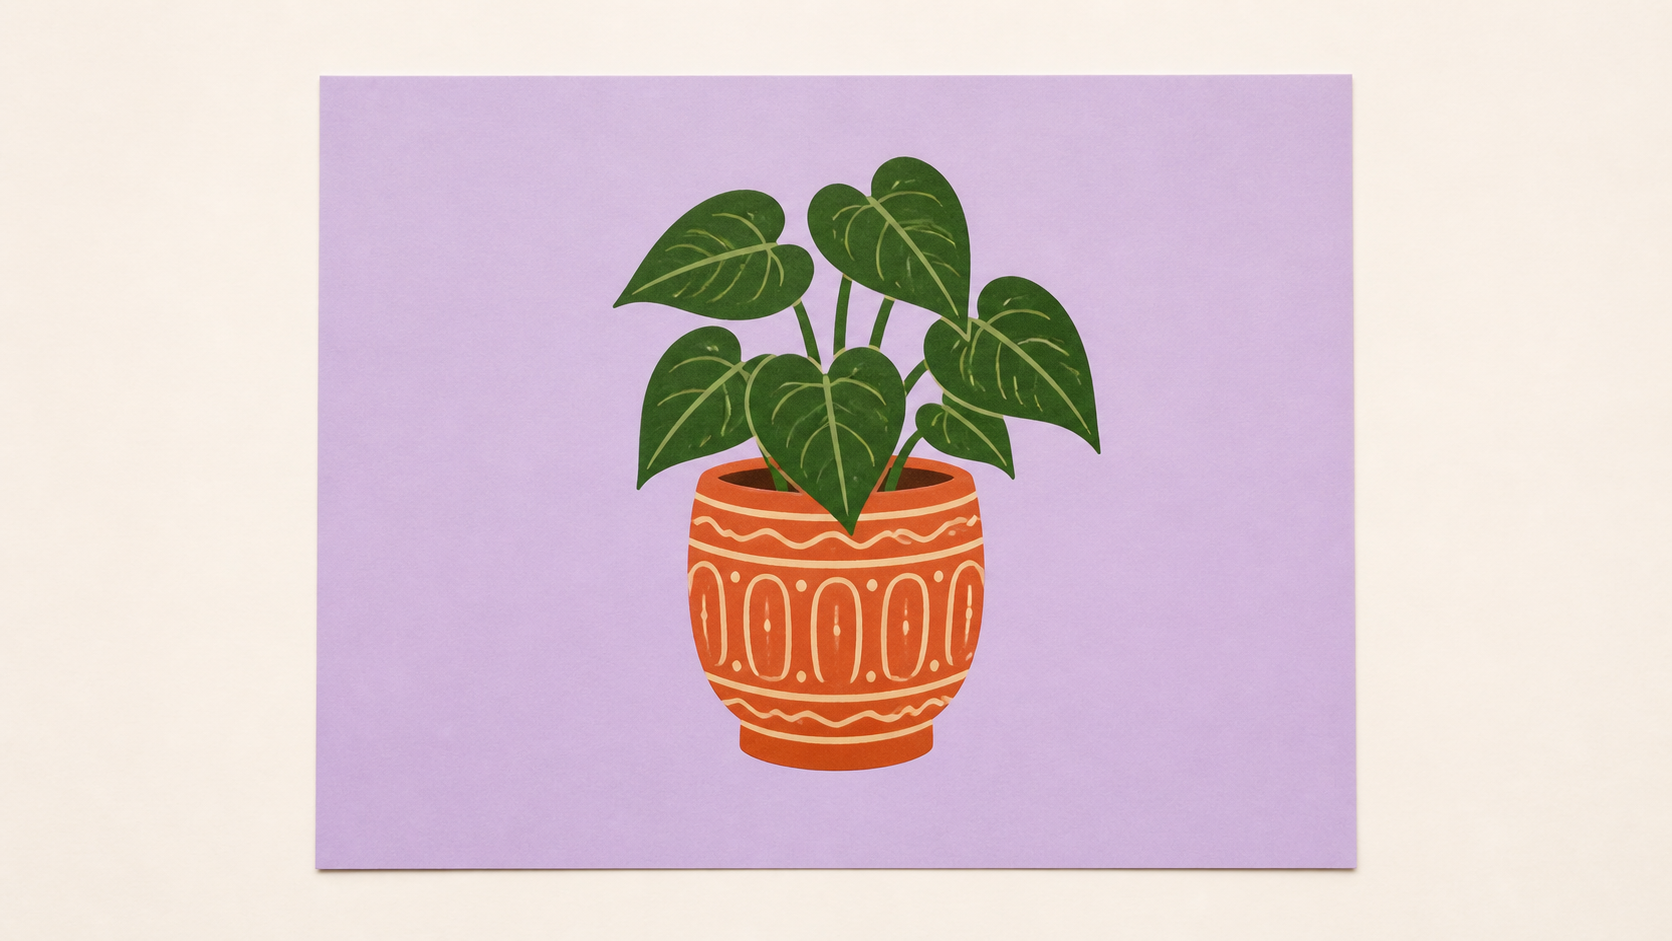
Upload the sharpest source and remove only the background. Inspect the cutout before adding any border, because leftover background pixels will expand into bumps or colored halos. Check interior openings such as mug handles, spaces between leaves, gaps between arms and the body, or the center of a letter. Decide whether each opening should remain transparent or become part of one simplified sticker shape.
Add a medium outline and review the complete contour at normal size. The border should remain visually even around curves, corners, and narrow protrusions. If a tail, antenna, stem, or strand creates a fragile peninsula, enlarge that area or simplify it rather than forcing the cut line through a tiny gap. Refine one variable at a time—mask, outline width, corner softness, or border color—so you can see which change improves the result.
- Upload the original artwork or highest-resolution photo.
- Remove the background and clean edge residue first.
- Choose which interior gaps should remain open.
- Apply one medium outline around the full silhouette.
- Inspect curves, corners, thin details, and transparency before export.
Pick an outline width that matches the final size
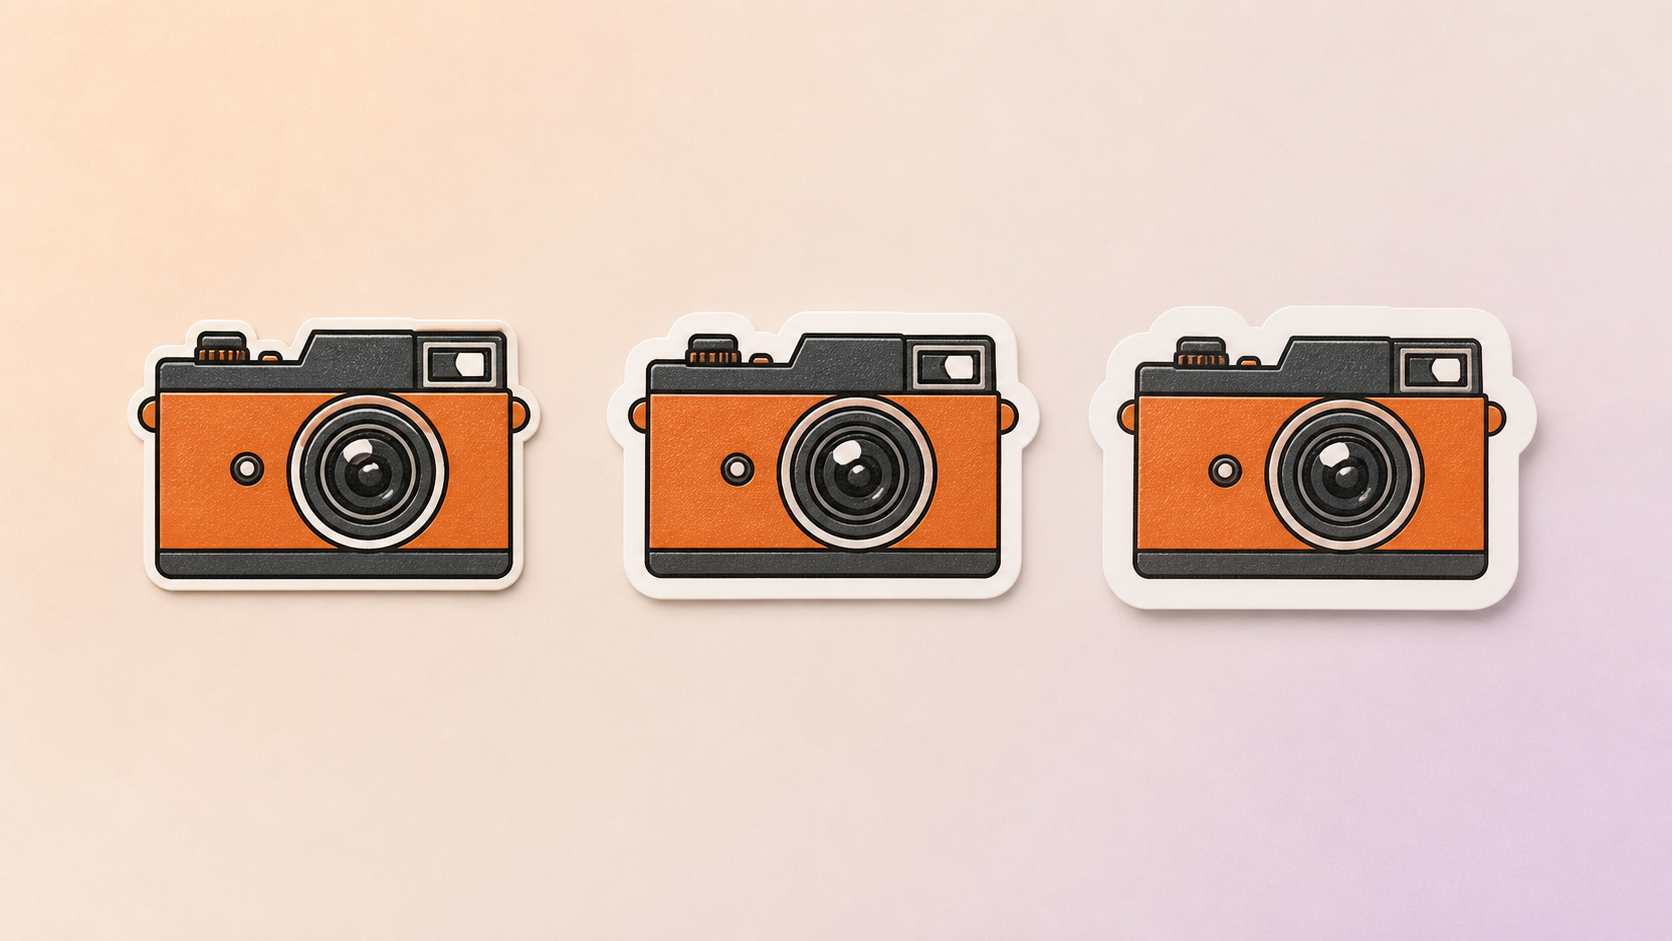
Outline width is relative to the finished sticker, not the source pixel count. A border that looks restrained on a large monitor can disappear when the sticker is reduced for a chat app, while a wide border can overwhelm a small icon. Start with a medium width that clearly separates the subject from light and dark backgrounds. Preview the design at its actual display or print size before deciding.
Thin outlines suit large artwork with a simple silhouette, but they expose small mask errors and provide less physical protection around a die cut. Medium outlines are versatile for laptops, packaging, profile stickers, and social graphics. Wide outlines create a bold cartoon effect and can support irregular artwork, but they may close narrow gaps or merge nearby shapes. Keep the subject scale identical while comparing widths so the border is the only changing variable.
Clean difficult edges, gaps, and small details
Zoom in and travel around the contour in one direction. Look for stair-stepped curves, single-pixel spikes, old background color, accidental holes, and border thickness that changes without a design reason. Hair and fur should usually become a simplified soft contour instead of hundreds of isolated strands. Transparent or reflective objects may need a deliberate graphic interpretation because a cut sticker cannot reproduce every changing background seen through glass.
Pay special attention to enclosed spaces. The hole in a handle may need to stay transparent, while the tiny gap between two fingers may be better filled to prevent an awkward cut. Small detached elements can become separate sticker pieces, so connect or remove them when the design should peel as one object. Evaluate every simplification at normal size. A contour that looks crude at 800 percent can appear perfectly clean and readable at the actual sticker size.
Choose white, colored, or transparent borders
White is the most familiar sticker border because it separates artwork from almost any surface and resembles the unprinted material around a die cut. It also protects dark and colorful artwork from blending into the destination. A colored border can support a brand palette or create stronger contrast, but test it against multiple backgrounds. A border that works on a cream page may disappear on packaging with the same hue.
A transparent margin is useful when a printer needs room for a cut line without visible white, but it will not help a digital sticker stand out. Keep the visible border and the production cut path conceptually separate. The visible border is part of the design; the cut path tells equipment where to trim. If a print vendor supplies a template, follow its specifications rather than assuming the edge of the white border is automatically the correct cut line.
Export stickers for web, messaging, and print
Export a transparent PNG master for digital use. PNG preserves alpha transparency and clean edge detail, making it reliable for messaging, social graphics, and design software. WebP can also preserve transparency at a smaller file size when the destination supports it. Keep the master at full resolution, then create smaller platform-specific copies so you do not repeatedly resize and compress the same file.
Print production adds requirements that an on-screen preview cannot verify. Ask the printer for final dimensions, resolution, bleed, safe area, accepted color profile, and cut-line format. Many vendors want artwork around 300 pixels per inch at final size, but their templates and equipment take priority. Review a proof for color shifts, narrow white gaps, unexpected clipping, and cut alignment. AI can create the visual outline; the print provider defines the manufacturing tolerances.
Common sticker outline mistakes
The most common mistake is outlining a dirty mask. A pale halo, old drop shadow, or isolated background speck becomes more obvious once it receives a border. Other frequent problems include using multiple nested outlines, preserving detail too small to cut, closing important internal holes, and choosing a border at zoomed-in size without checking the final scale. Clean the cutout first, then judge one outline at the intended size.
Do not assume a white rectangle is transparency. Preview the export on light, dark, and colored backgrounds to confirm that only the subject and border remain visible. Keep a version without the outline in case another format is needed later. If the source still contains a complex background, the older AI background remover guide explains how to clean hair, glass, fabric, and shadows before building the sticker border.
Rights, consent, and a final quality check
Use artwork and photos you created or have permission to adapt. Turning an image into a sticker does not remove copyright, trademark, publicity, or privacy obligations. Avoid tracing protected characters, copying brand logos, or removing watermarks. Obtain consent before making or sharing a sticker from a recognizable person's portrait, particularly when it could be used publicly, commercially, or outside the original context.
Before publishing, confirm the silhouette is complete, the border width is consistent, interior gaps are intentional, transparency is genuine, and no source-background color remains. Check the file at actual size on both a light and dark surface. For print, compare the artwork with the vendor template and approve a proof when available. A finished sticker should be recognizable from its shape, clean around every edge, and appropriate for the place where it will appear.
People also ask
Frequently asked questions
How do I add a white outline to an image?
Remove the background, clean the subject mask, then add one consistent white border around the complete outer silhouette. Inspect narrow gaps before exporting a transparent PNG.
What images work best for an AI sticker maker?
Use sharp artwork or photos with one clear subject, a strong silhouette, visible contrast, and enough empty space around every edge.
How thick should a sticker outline be?
Use a width that remains visible at the final display or print size without overpowering the artwork. A medium outline is the most versatile starting point.
What file format should I use for digital stickers?
Use PNG for a transparent master. WebP can be smaller for supported websites and apps. Keep a full-resolution master before creating smaller copies.
Can I print an AI-generated sticker outline directly?
Prepare the artwork first, then follow the printer's exact requirements for dimensions, resolution, bleed, color, safe area, and cut-line format.