
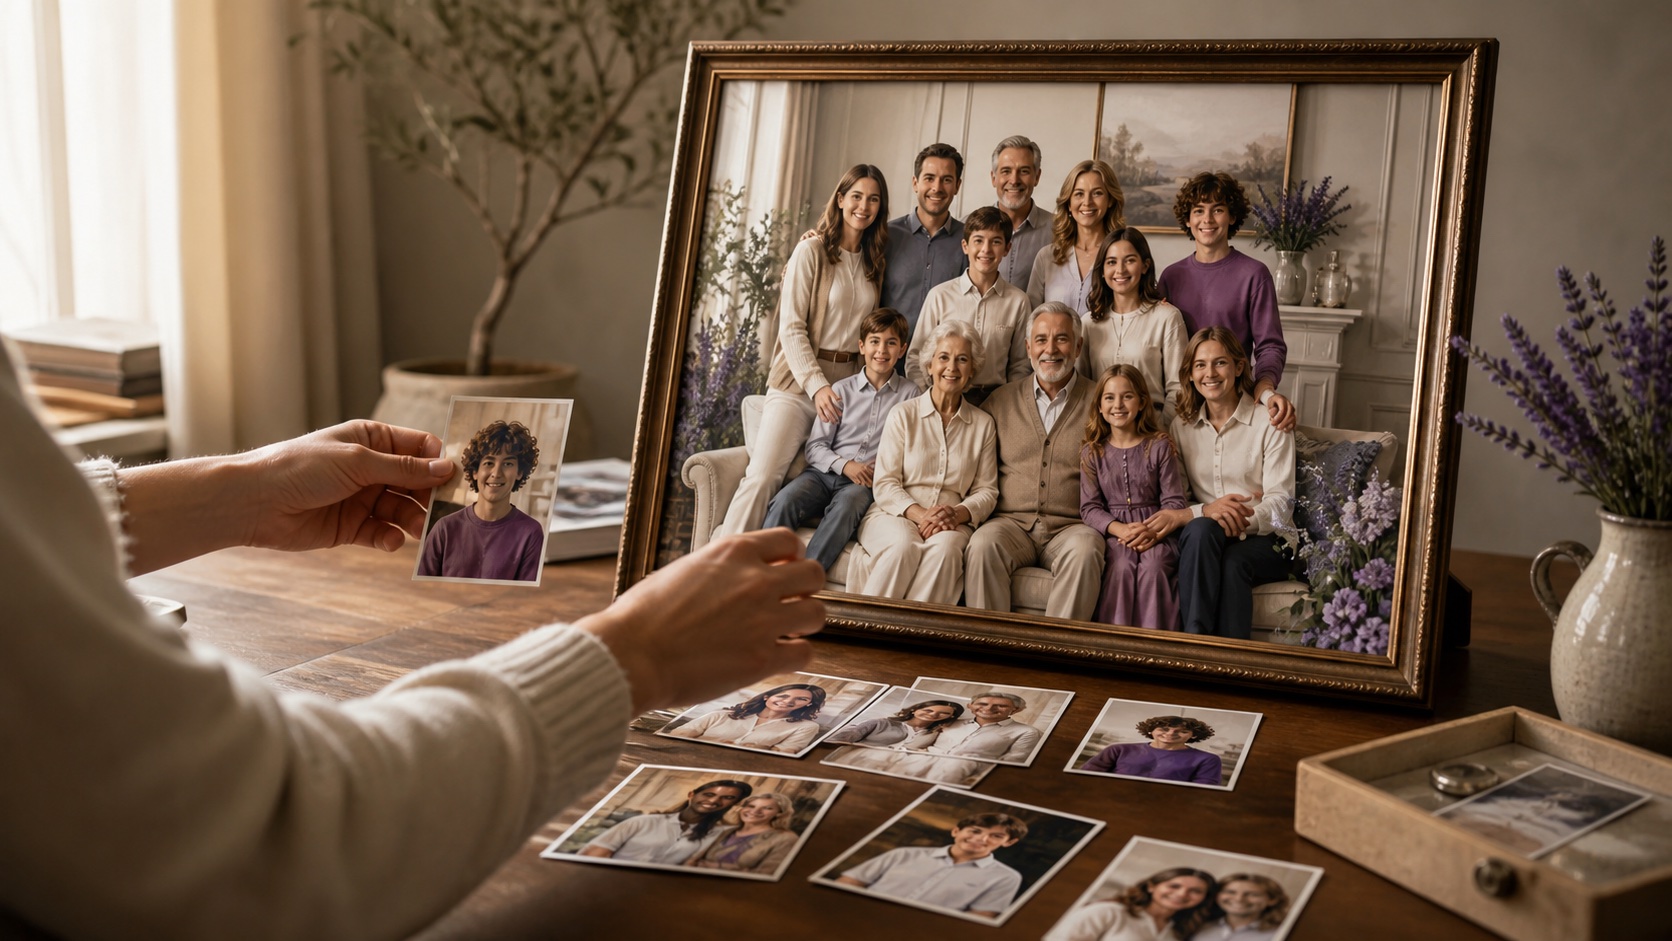
To create an AI family portrait from separate photos, choose one clear image per person with similar eye level, camera angle, light direction, and resolution. Decide the group arrangement before generating, keep wardrobe colors coordinated rather than identical, and use a simple environment with one believable light source. After generation, verify every person's face, hands, age, height relationship, and clothing before sharing the portrait as an AI-created family concept.
Why separate family photos are difficult to combine
Every photograph contains hidden decisions: camera height, lens distance, light direction, color temperature, depth of field, and the subject's pose. When those decisions differ, a composite can feel wrong even when every individual face looks good. One person may appear photographed from above while another is seen from below. A wide-angle selfie can make a face feel larger than a portrait taken from across a room. Hard sunlight on one person conflicts with soft indoor light on the rest.
AI can bridge many differences, but it needs consistent references and a clear target. Think like a portrait director before uploading. Choose the setting, arrangement, mood, and visual priority. Then use the AI family portrait studio and the dedicated family portrait generator to build one scene from consenting family photos.
Select the best source image for each person
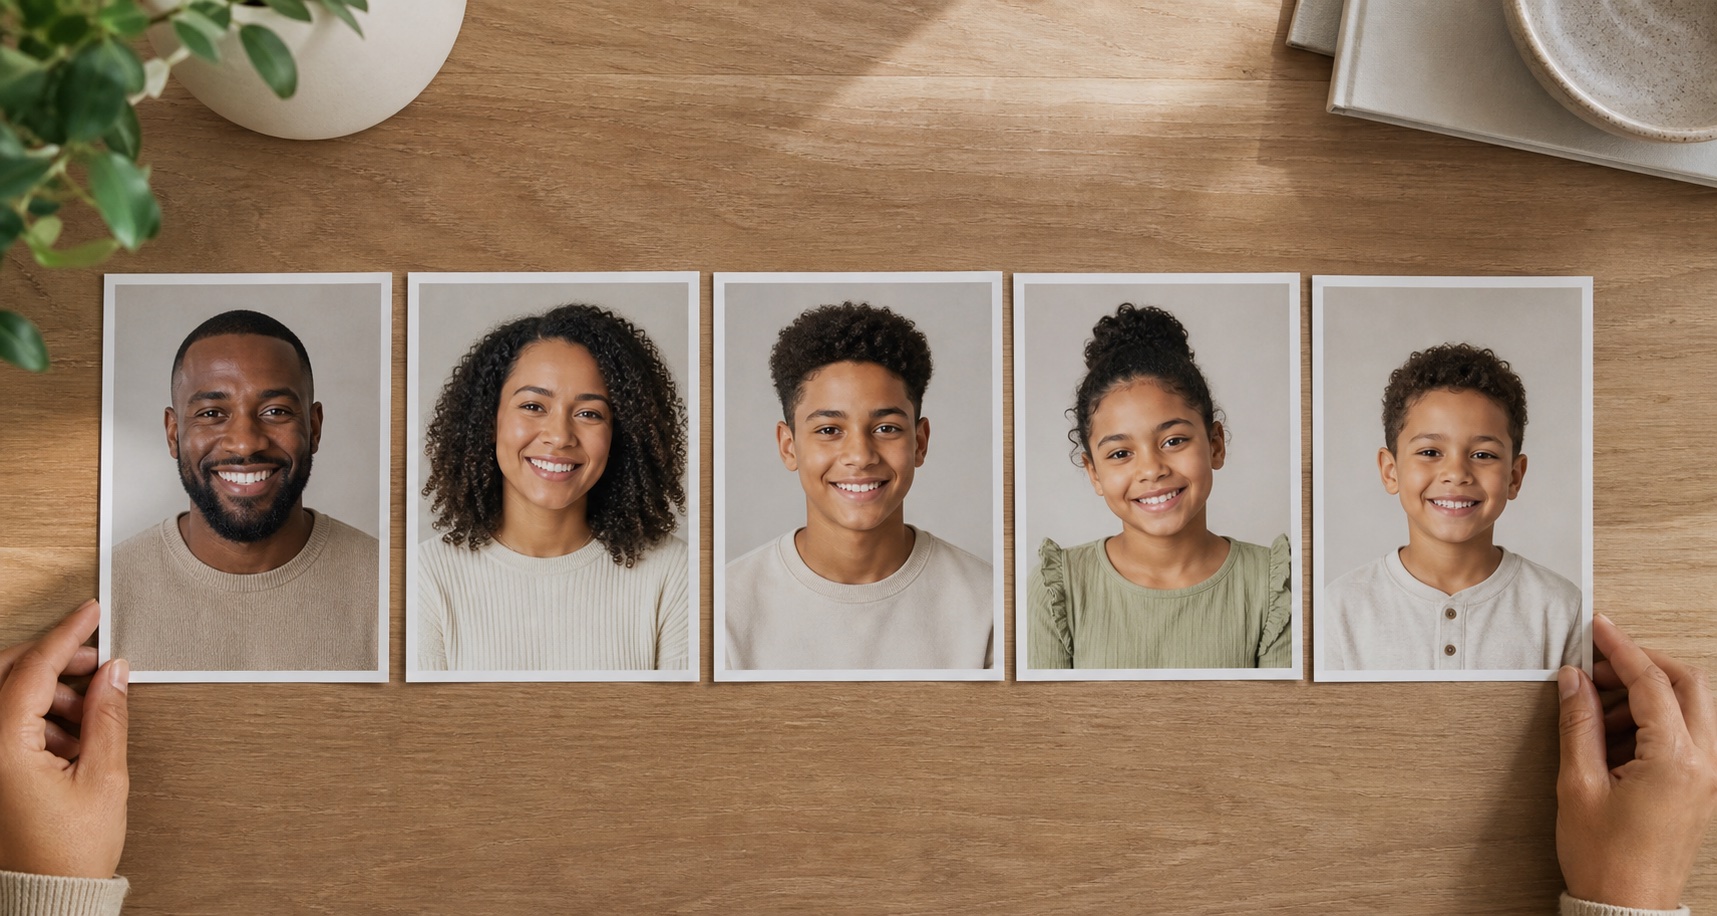
Choose original, high-resolution portraits where the face is sharp and unobstructed. A head-and-shoulder photo usually provides enough identity detail while still showing posture and clothing. Avoid tiny group-photo crops, screenshots, beauty filters, sunglasses, masks, hands over the face, and extreme profiles. If someone wears glasses every day, include them in the source and inspect the generated frames and reflections carefully.
Try to match the direction each person faces. For a classic group portrait, front-facing or gentle three-quarter angles work well. If one source looks sharply to the side, the system may either preserve the pose and break group eye contact or invent a front view with weaker identity. Similar neutral expressions are easier to harmonize than a mix of laughter, closed eyes, and formal seriousness.
Match light, color, and camera perspective
Look at the shadow beside each nose and under each chin. Those cues reveal where the light came from. Choose sources lit from roughly the same side, or select a final scene with soft frontal light that can plausibly unify them. Color temperature matters too: warm tungsten and cool daylight can create skin-tone differences that feel like separate rooms. Global correction helps, but extreme mismatches are better solved by choosing another source image.
Camera perspective changes facial proportions. Close phone selfies enlarge features nearer the lens, while longer portrait lenses flatten perspective. If possible, use sources taken from similar distances. Also compare eye level. Adults photographed from below can appear unusually dominant next to children photographed from above. A coherent family portrait uses one virtual camera, so every subject needs to fit that viewpoint.
Plan the group composition before you generate
Write a simple arrangement from left to right and back to front. Place taller adults or standing relatives behind seated family members, keep young children near a parent or caregiver, and avoid hiding important faces behind shoulders. Consider the final crop. A wide wall print can support a horizontal group, while a phone-friendly image may work better with a compact triangular arrangement.
Use natural contact: a hand on a shoulder, slightly overlapping arms, or shared seating can make the group feel connected. Too much physical interaction increases the risk of merged fingers and impossible limbs, so start with a relaxed arrangement. Leave negative space around the outside subjects for cropping and frames. State the approximate age and relative height of each person when the tool supports a written brief, but avoid sensitive details that are not needed for the portrait.
- List every person and choose one primary source photo each.
- Define who stands, sits, or appears in front.
- Choose a horizontal, vertical, or compact triangular layout.
- Set one environment, camera height, and light direction.
- Generate a simple version before adding props or complex interaction.
Coordinate wardrobe without making it look staged
Identical shirts can flatten personality and make a modern family portrait feel dated. Choose a small palette of three to five compatible colors and let each person wear a different combination. Neutrals such as cream, denim, charcoal, olive, or warm brown create a stable base; one accent color can appear in several places to connect the composition. Keep the season consistent so heavy knitwear and summer clothing do not share an unexplained setting.
Avoid tiny high-contrast patterns, large brand marks, and text because generators can distort them. Pay attention to sleeves and necklines where bodies overlap. If the software invents clothing, inspect whether garments respect each person's age, culture, preferences, and modesty. A family portrait should feel like the people represented, not like a generic catalog group.
Review faces, hands, age, and relationships
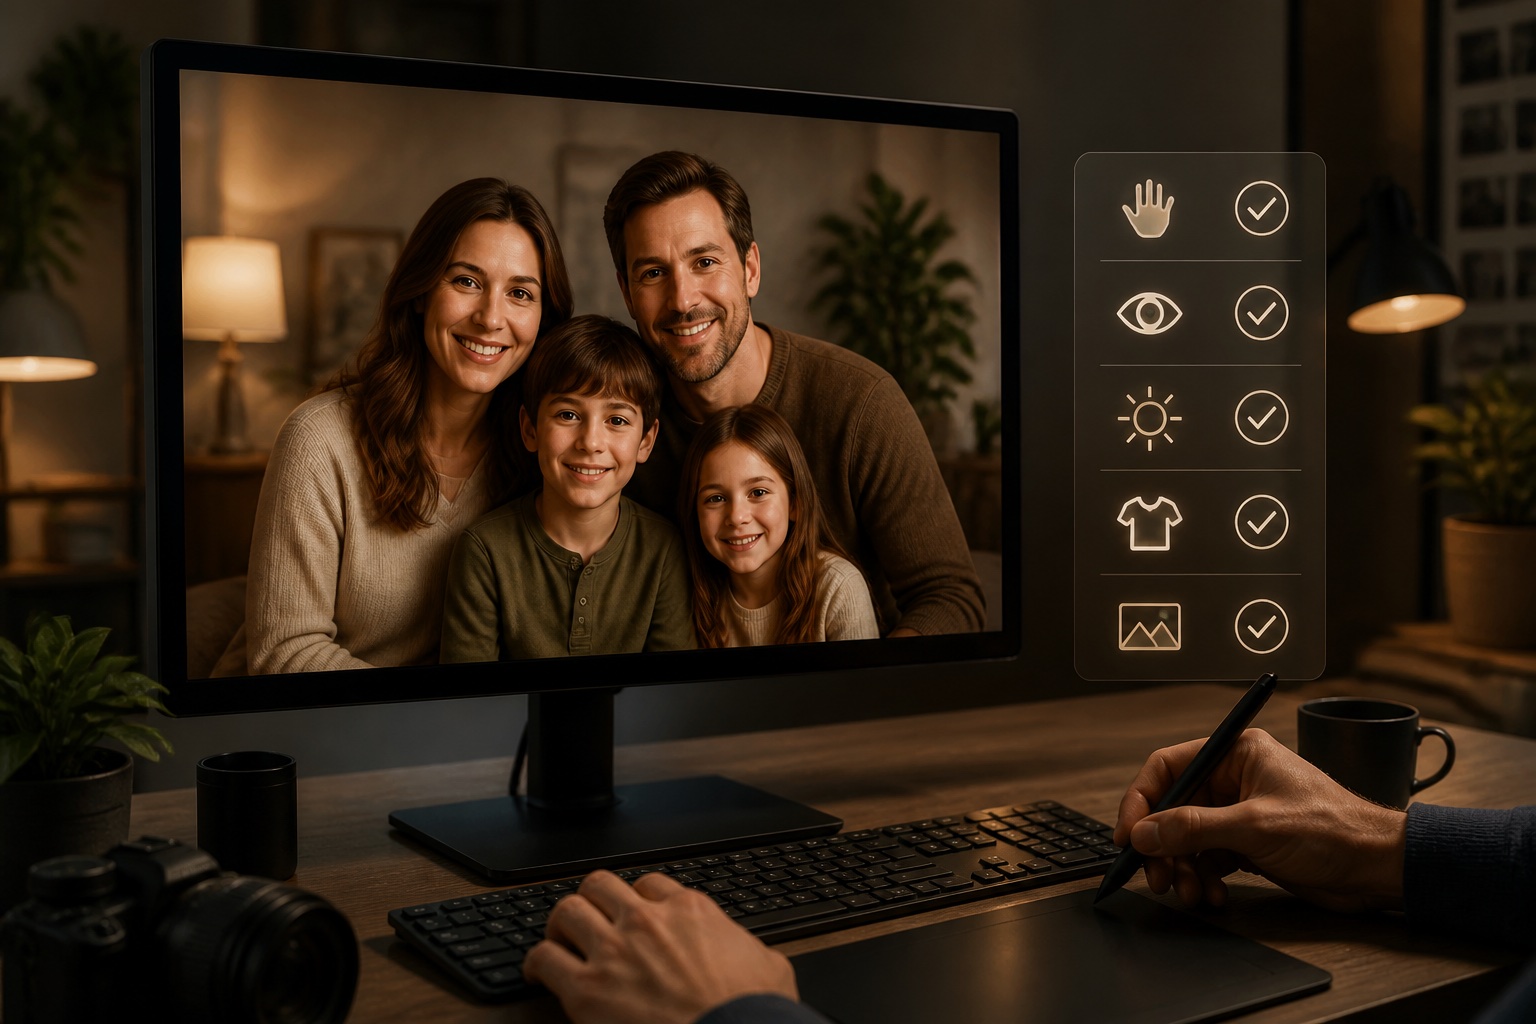
Zoom in on each person individually and compare stable landmarks with the reference: eye spacing, eyebrow shape, smile, face outline, hairline, and glasses. Confirm that the portrait did not swap features between relatives or change someone's age dramatically. Then inspect the relationships between bodies. Count visible hands and fingers, follow each arm to the correct shoulder, and look for duplicated jewelry or clothing that merges across people.
Step back and review the image as a group. Are the heights plausible? Do all feet and chairs meet the same floor? Do the eyes sit on consistent perspective lines? Does the light create shadows in one direction? The generated image should pass both levels of review. A beautiful group can still fail if one relative no longer looks like themselves.
Consent and special care with memorial portraits
Get permission from every living adult whose photo you use and from a parent or guardian for minors. Explain that the output is AI-created, where it will be stored, and whether it may be shared publicly. A photo posted online is not automatic permission for a new generated portrait. Use controlled source files and avoid uploading unrelated background details that reveal addresses, schools, or private information.
Memorial portraits require additional sensitivity. Combining a deceased relative with current family members can be meaningful, but it can also be emotionally intense or misleading. Discuss the idea with close family before creating or sharing it, use a respectful natural style, and label the work honestly. The earlier responsible photo transformation guide provides a useful standard for respectful use and privacy.
Export, print, and archive the finished portrait
For print, export the largest clean version available and avoid repeatedly saving it as a low-quality JPEG. A common target is enough resolution to print at approximately 300 pixels per inch at the desired size, although viewing distance and printer requirements vary. Use sRGB unless your print service asks for a different profile. Order a small proof before a large canvas or framed print to check skin tone, shadow detail, and cropping.
Keep the selected source photos, generated master, final print file, and a short note that identifies the portrait as AI-created. Use neutral filenames without private identifying information. If the portrait becomes part of a family archive, record the creation date and the people represented. Clear context preserves the emotional value without confusing future viewers about when and how the image was made.
People also ask
Frequently asked questions
Can AI create one family portrait from separate photos?
Yes. The strongest results come from high-resolution portraits with similar camera angles, eye level, lighting, and expressions, plus a clearly planned group arrangement.
How many photos should I use per person?
Start with one excellent primary portrait per person. Additional references can help only when the tool supports them clearly; too many conflicting photos may introduce inconsistency.
How do I keep each family member recognizable?
Use clear unfiltered references, minimize extreme pose changes, and compare stable facial landmarks in every generated result before selecting or sharing it.
Can I include a deceased relative?
Technically it may be possible, but treat memorial composites with sensitivity. Discuss the idea with close family, use a respectful style, and disclose that the image is AI-created.